怎样在VS2013中安装配置boost_1_55_0库
1、下载Boost库,这里我选择下载boost_1_55_0.zip

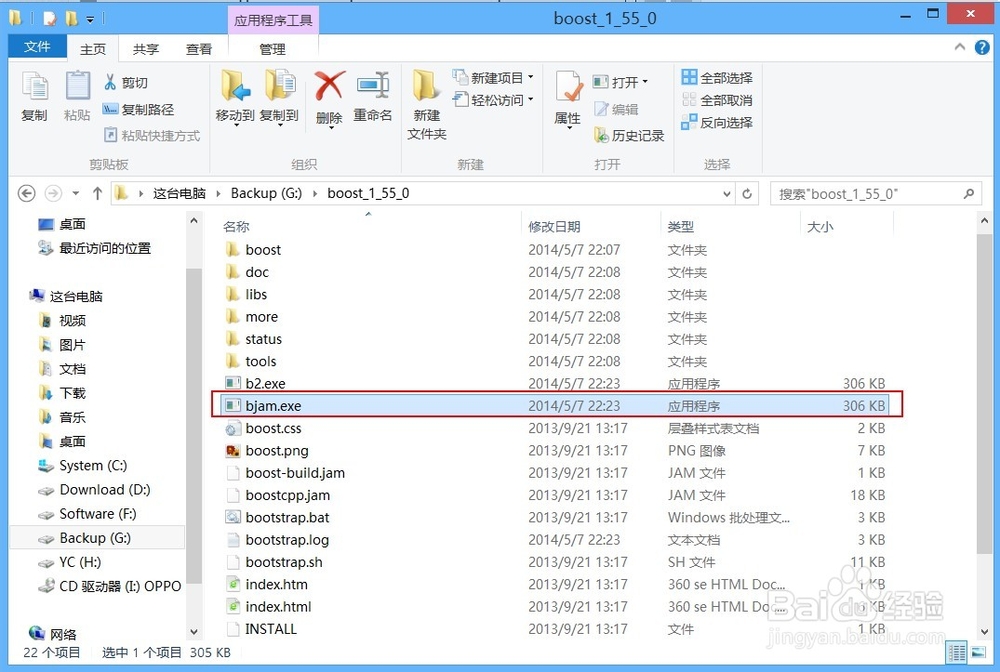
2、解压boost文件到本地目录(如G:\boost_1_55_0),可以发现解压后的文件中有一个bootstrap.bat文件。
然后以管理员身份打开cmd窗口,具体命令如下图:

3、上述命令执行完毕后可以发现G:\boost_1_55_0下新生成了一个bjam.exe文件
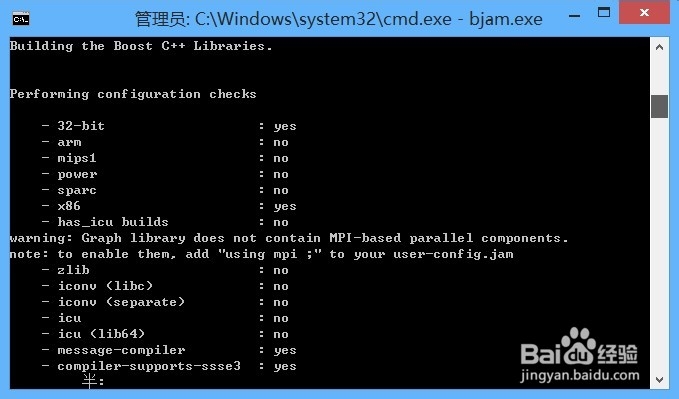
4、在命令窗口中输入语句:bjam.exe。如下图所示
此过程将默认根据系统已经安装好的编译工具(VS2008,2010,2012,2013)等编译相应的Lib文件、头文件等。(此步骤大概需要10分钟)

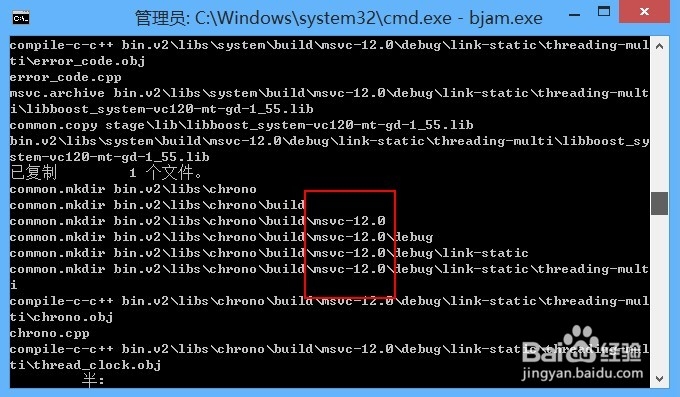
5、从下图可以看到msvc 12.0,这是因为我系统中已经安装过了VS2013
msvc : 8.0是VS2005
msvc : 10.0是VS2010
msvc : 12.0是VS2012、VS2013
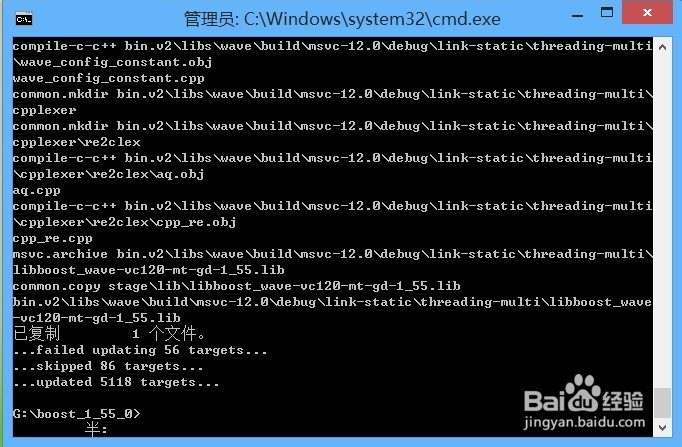
6、第5步执行成功后会有如下信息提示
7、至此我们已经完成了boost库的安装,下面需要配置一下VS2013了。新建一个VS2013控制台应用程序(工程名为boostest),添加如下代码
#include "stdafx.h"
#include <boost/lexical_cast.hpp>
#include <iostream>
using namespace std;
int main()
{
using boost::lexical_cast;
int a = lexical_cast<int>("123");
double b = lexical_cast<double>("123.0123456789");
string s0 = lexical_cast<string>(a);
string s1 = lexical_cast<string>(b);
cout << "number: " << a << " " << b << endl;
cout << "string: " << s0 << " " << s1 << endl;
int c = 0;
try{
c = lexical_cast<int>("abcd");
}
catch (boost::bad_lexical_cast& e){
cout << e.what() << endl;
}
return 0;
}
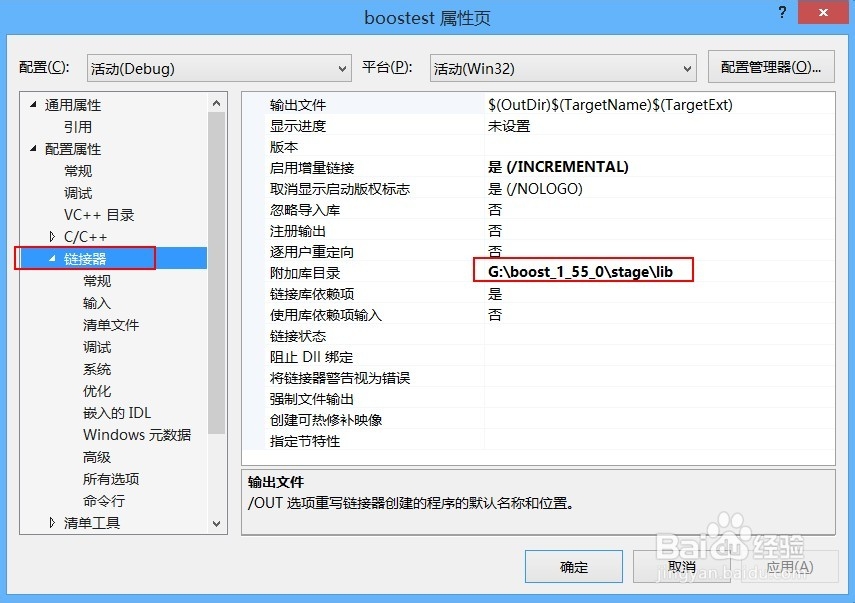
8、添加boostest工程的包含目录和库目录
包含目录添加 G:\boost_1_55_0
库目录添加 G:\boost_1_55_0\stage\lib
具体如下图


9、进入代码窗口编译并成功运行说明BOOST库确实已经配置成功,可以放心使用。
