如何在linuxsuse中安装Oracle11g(二)安装oracle
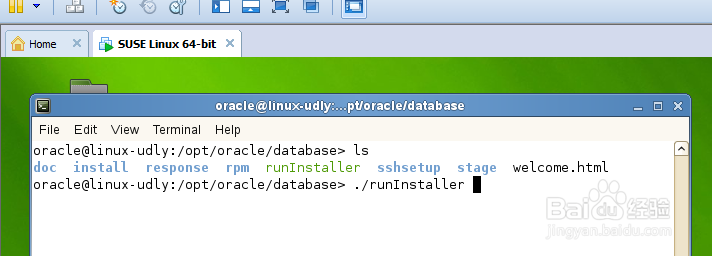
1、以oracle用户登陆(语言选择英文),进入/opt/oracle/database目录
运行:./runInstaller
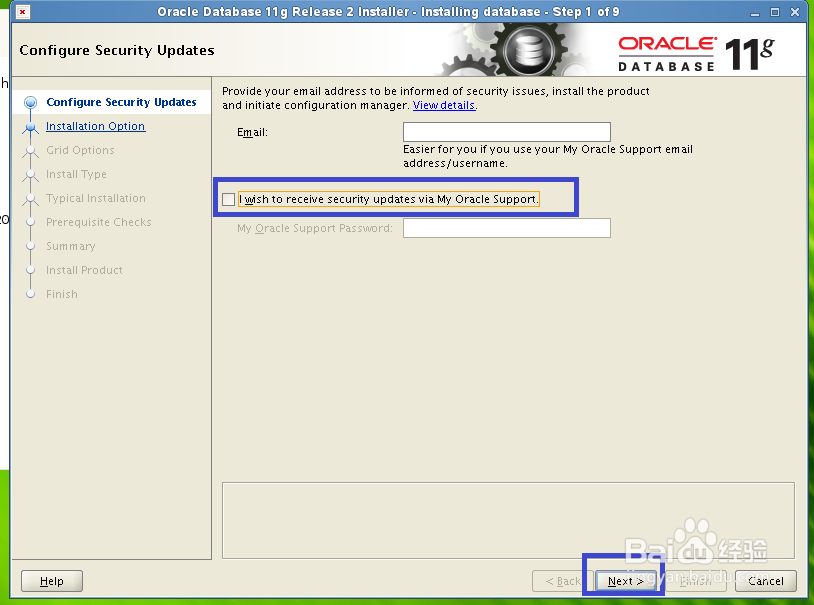
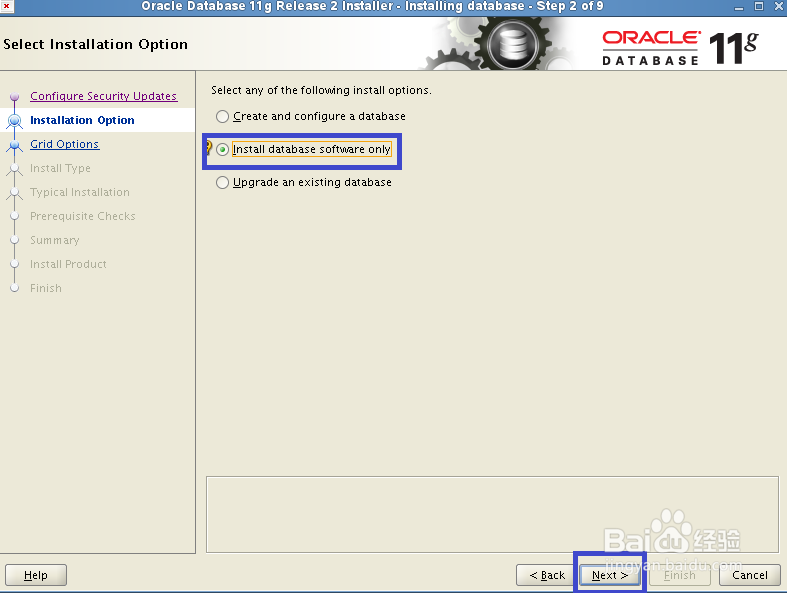
2、进入以下界面:
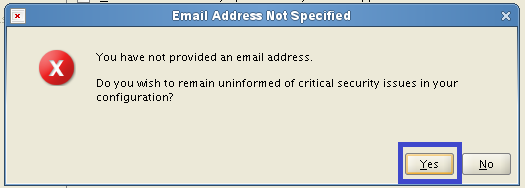
3、点击Yes;
4、点击Next;
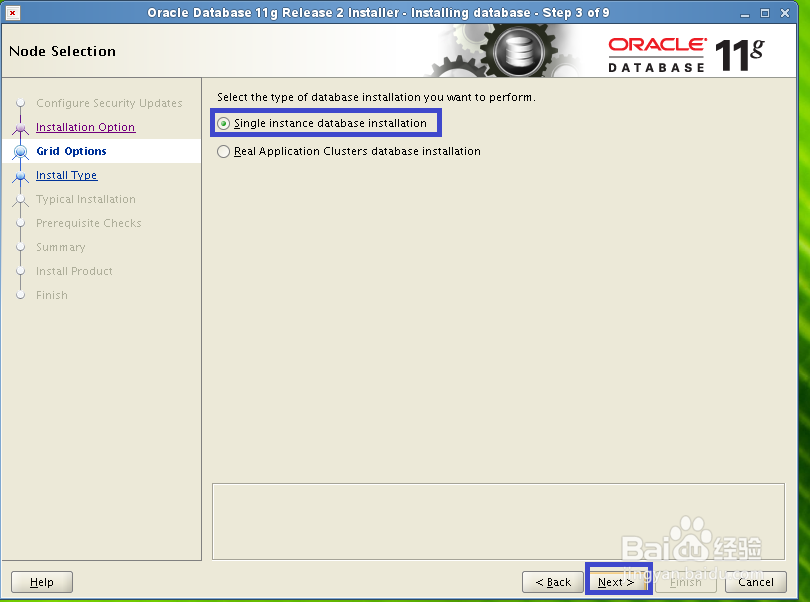
5、点击Next;
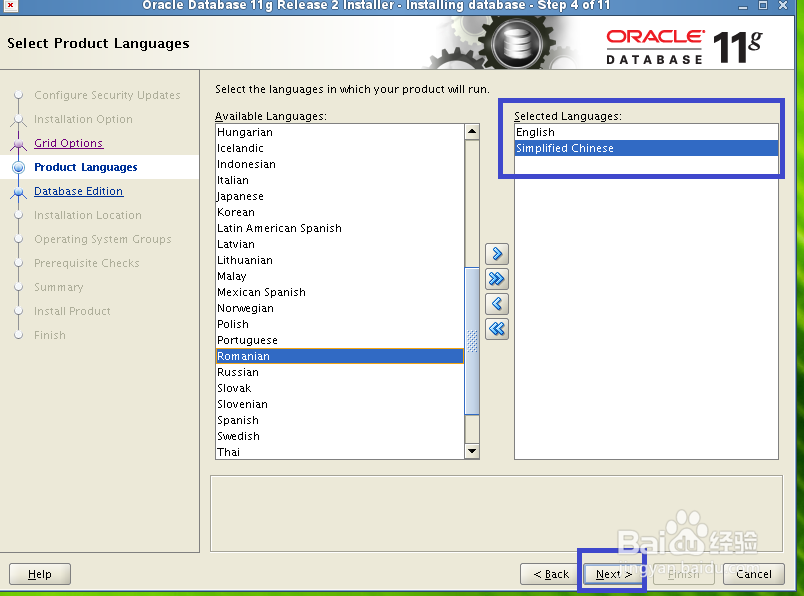
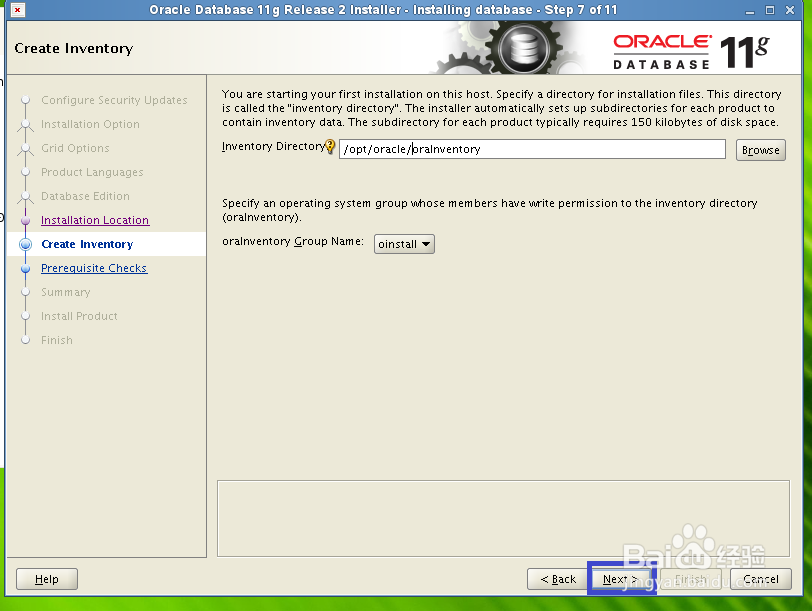
6、点击Next;
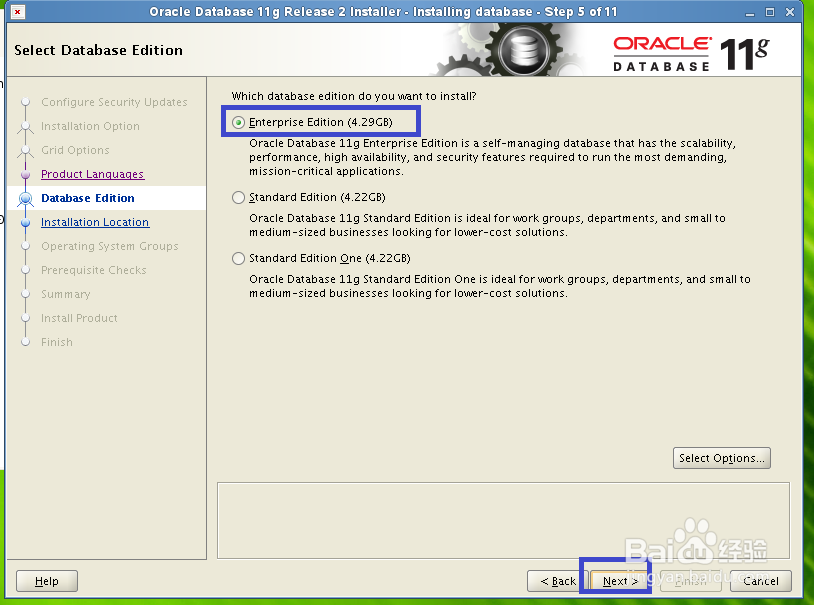
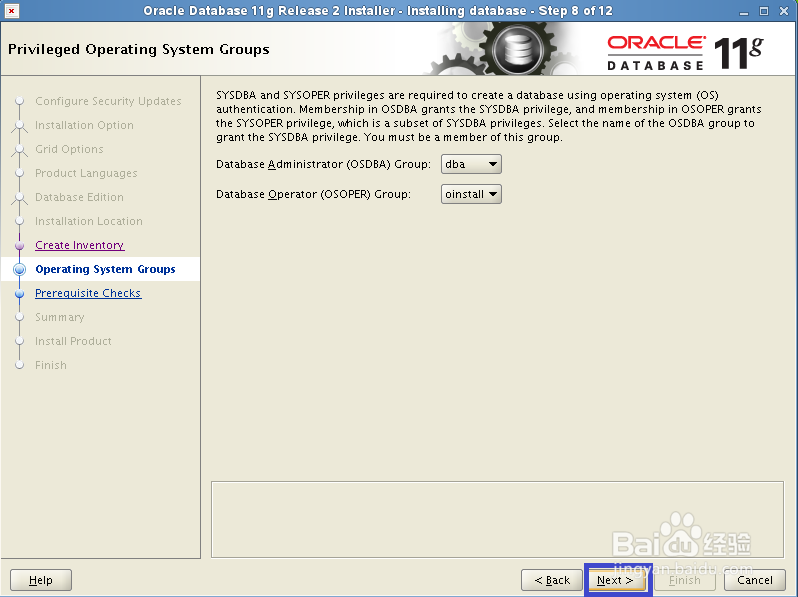
7、点击Next;
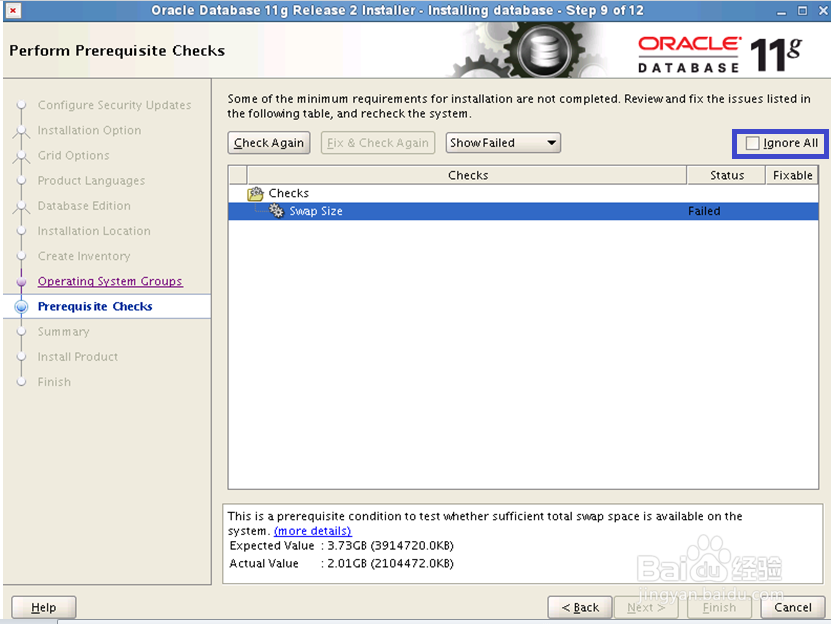
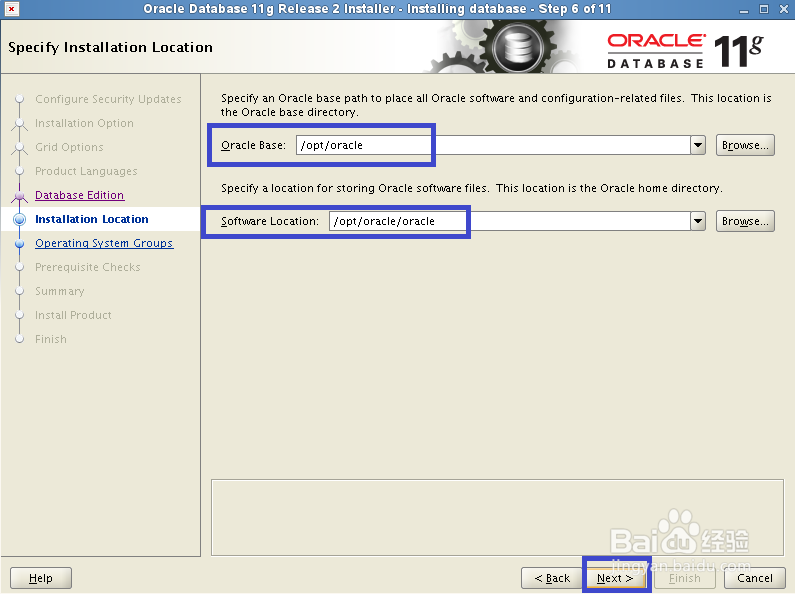
8、Swap交换区太小不满足,这个忽略掉,选择IgnoreAll,然后点击Next;
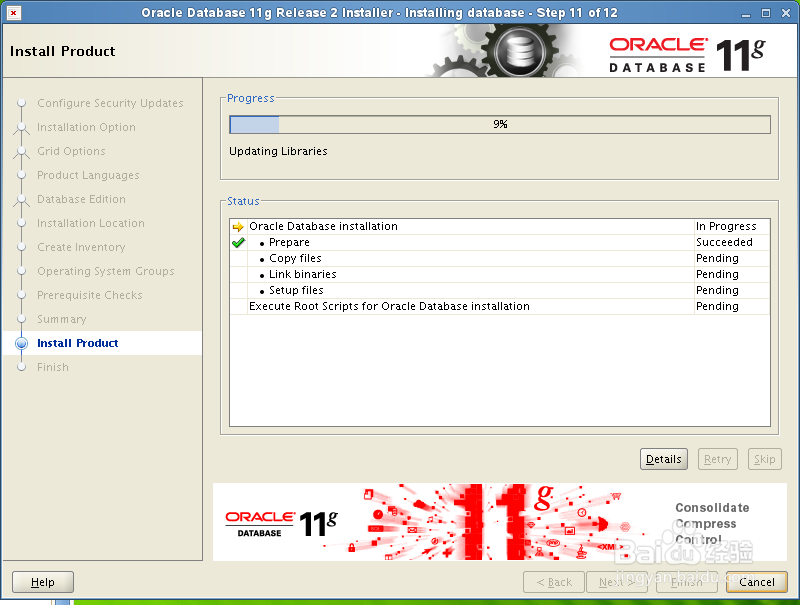
9、等待安装..............

10、数据库安装完成后,会弹出该对话框,提示以root用户身份运行列表中的两个脚本文件,然后选择OK;
linux-udly:~ # cd /opt/oracle/oraInventory/
linux-udly:/opt/oracle/oraInventory # ls
ContentsXML install.platform logs oraInst.loc oraInstaller.properties orainstRoot.sh oui
linux-udly:/opt/oracle/oraInventory # ./orainstRoot.sh
Changing permissions of /opt/oracle/oraInventory.
Adding read,write permissions for group.
Removing read,write,execute permissions for world.
Changing groupname of /opt/oracle/oraInventory to oinstall.
The execution of the script is complete.
linux-udly:/opt/oracle/oraInventory #
linux-udly:/opt/oracle/oracle # pwd
/opt/oracle/oracle
linux-udly:/opt/oracle/oracle # ./root.sh
Running Oracle 11g root.sh script...
The following environment variables are set as:
ORACLE_OWNER= oracle
ORACLE_HOME= /opt/oracle/oracle
Enter the full pathname of the local bin directory: [/usr/local/bin]:
Copying dbhome to /usr/local/bin ...
Copying oraenv to /usr/local/bin ...
Copying coraenv to /usr/local/bin ...
Creating /etc/oratab file...
Entries will be added to the /etc/oratab file as needed by
Database Configuration Assistant when a database is created
Finished running generic part of root.sh script.
Now product-specific root actions will be performed.
Finished product-specific root actions.
linux-udly:/opt/oracle/oracle #
有提示直接回车!!
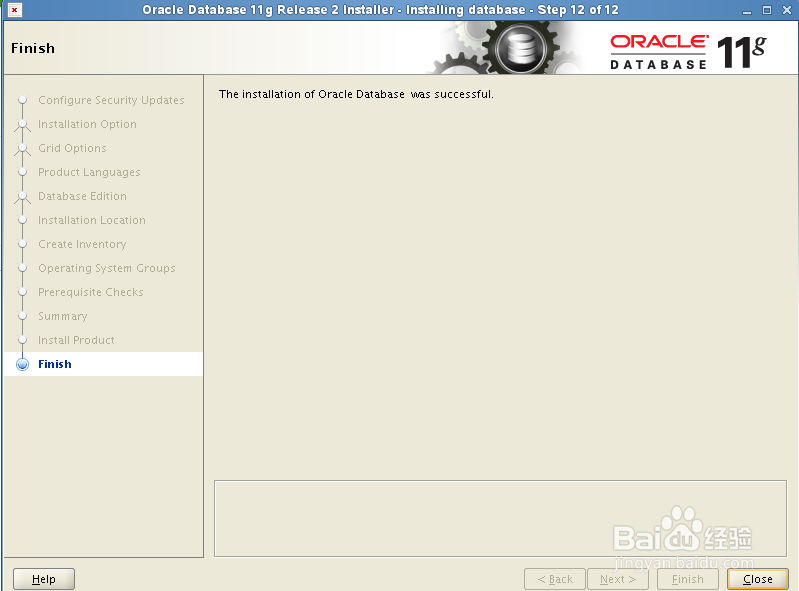
11、致此安装完成!