【VB编程】获取一个控件的屏幕位置坐标
1、打开Visual basic6.0(一下简称vb),新建一个标准EXE,设置控件如下图所示:

2、双击Form1窗体:复制如下代码粘贴到Form1代码窗口:
Private Sub Command1_Click()
Dim Rects As RECT, ExecuteValue As Boolean
Dim MousePoint As POINTAPI
ExecuteValue = GetDesktopWindowRect(Command2.Hwnd, Rects, MousePoint)
Debug.Print "ExecuteValue=" & ExecuteValue
Debug.Print "Rects.Top=" & Rects.Top
Debug.Print "Rects.Left=" & Rects.Left
Debug.Print "Rect.Bottom=" & Rects.Bottom
Debug.Print "Rect.Right=" & Rects.Right
Debug.Print "MousePoint.X= " & MousePoint.X
Debug.Print "MousePoint.Y=" & MousePoint.Y
'MsgBox "执行结果请看立即窗口!", 48, "提示"
End Sub
Private Sub Command2_Click()
SetCursorToControl Command1.Hwnd
End Sub
Private Sub Label2_Click()
Shell "Explorer http://hi.baidu.com/kejisoft/home"
End Sub
【图:复制代码到Form1代码窗口】

3、点击 工程菜单》添加模块》点击打开:
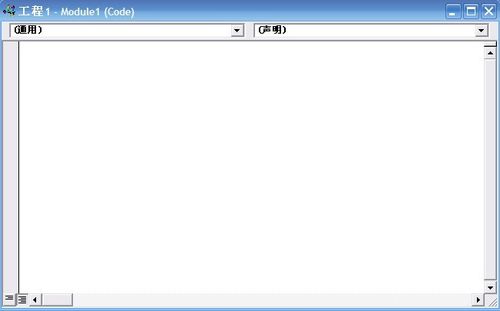
4、把如下代码复制到如上图所示的窗口:
'Programming By Kejisoft (Http://Hi.Baidu.com/Kejisoft)
'Date:2011-02-10
'Functions:
' GetDesktopWindowRect
' 获取一个控件在屏幕用Rect描述的位置
' SetCursorToControl
' 设置鼠标指针到一个控件
'Version:1.0.0.0
'IDE:Microsoft Visual Basic 6.0企业版
Declare Function GetDesktopWindow Lib "user32" () As Long
Declare Function GetWindowRect Lib "user32" (ByVal Hwnd As Long, lpRect As RECT) As Long
Type RECT
Left As Long
Top As Long
Right As Long
Bottom As Long
End Type
Declare Function GetCursorPos Lib "user32" (lpPoint As POINTAPI) As Long
Type POINTAPI
X As Long
Y As Long
End Type
Declare Function SetCursorPos Lib "user32" (ByVal X As Long, ByVal Y As Long) As Long
Public Function GetDesktopWindowRect(Hwnd As Long, Rct As RECT, MousePos As POINTAPI) As Boolean
Dim execute As Integer
execute = GetWindowRect(Hwnd, Rct)
GetDesktopWindowRect = IIf(execute = 0, False, True)
GetCursorPos MousePos
End Function
Public Function SetCursorToControl(ControlHwnd As Long) As Boolean
Dim Rect2 As RECT, MousePos2 As POINTAPI
Dim ControlX As Long, ControlY As Long
SetCursorToControl = GetDesktopWindowRect(ControlHwnd, Rect2, MousePos2)
'计算控件的中心位置坐标
ControlX = Rect2.Left + ((Rect2.Right - Rect2.Left) / 2)
ControlY = Rect2.Top + ((Rect2.Bottom - Rect2.Top) / 2)
SetCursorPos ControlX, ControlY
End Function
5、下一步可以按F5运行测试效果,完成!