Android自定义AlertDialog实现单选操作
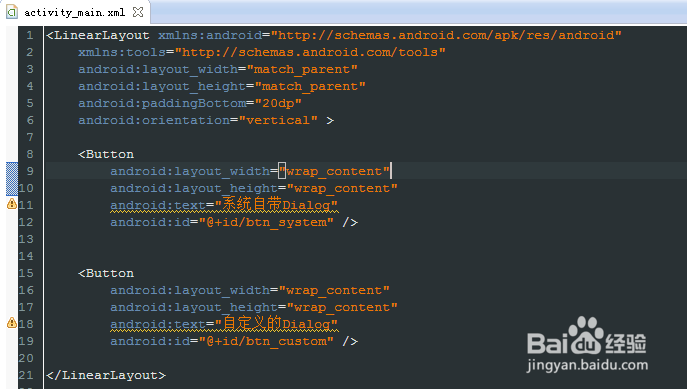
1、新建一个Android项目Test,activity_main.xml文件添加两个按钮(系统自带Dialog,自定义的Dialog),比较两种方式的效果。
<LinearLayout
<Button android:id="@+id/btn_system" />
<Button android:id="@+id/btn_custom" />
</LinearLayout>
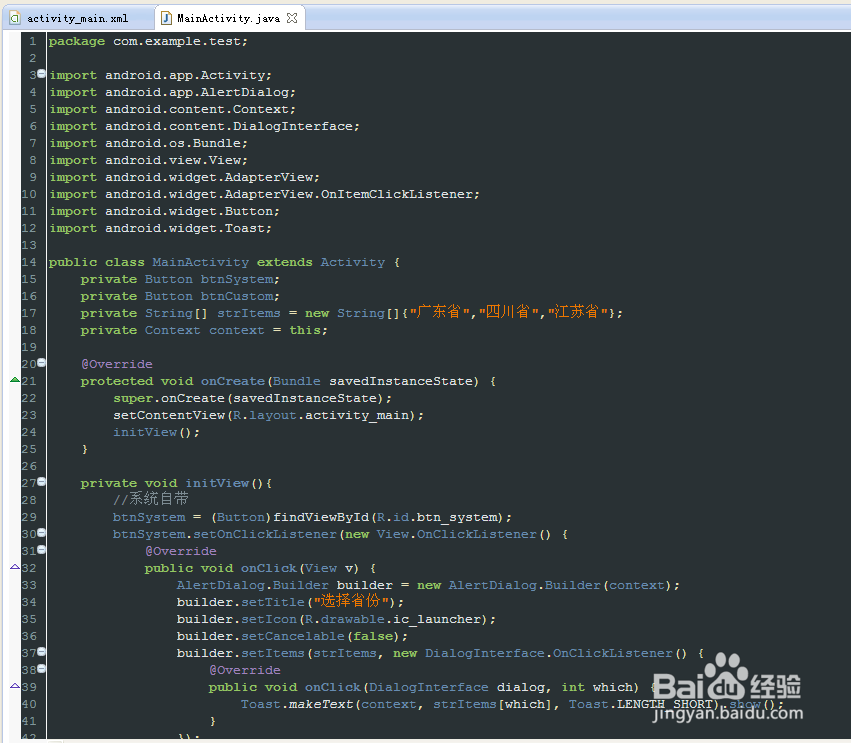
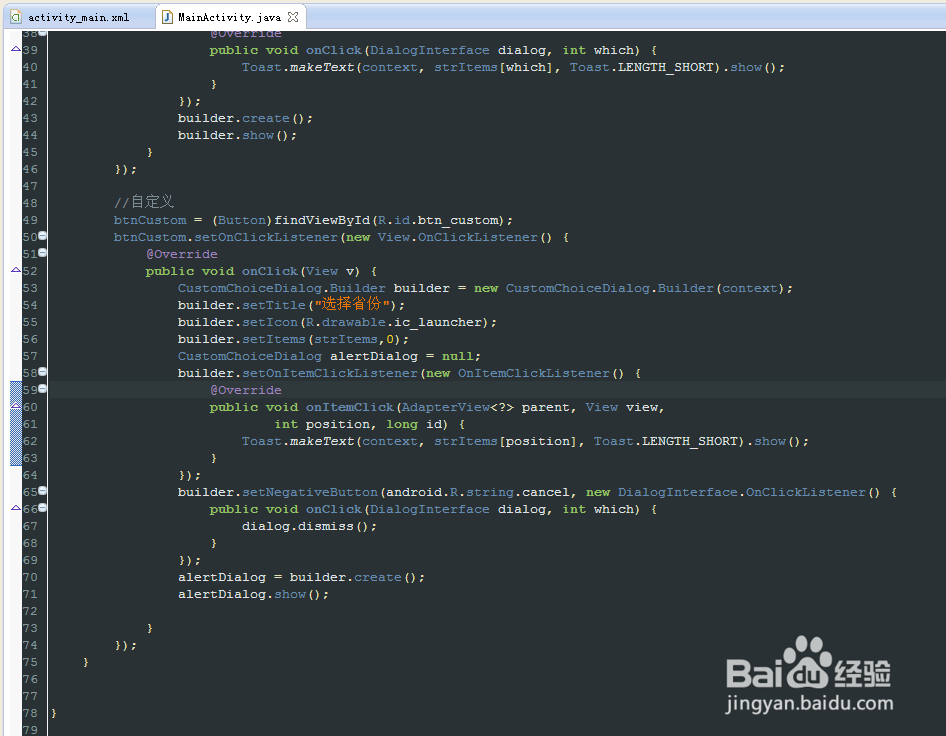
2、对应的各披囊MainActivity.java代码,添加两个Button按钮的点击事件,点击时选择八总省份的例子。
public class MainActivity extends Activity {
private String[] strItems = new String[]{"广东省","四川省","江苏省"};
//自定义
btnCustom = (Button)findViewById(R.id.btn_custom);
btnCustom.setOnClickListener(new View.OnClickListener() {
@Override
public void onClick(View v) {
CustomChoiceDialog.Builder builder = new CustomChoiceDialog.Builder(context);
builder.setTitle("选择省份");
builder.setIcon(R.drawable.ic_launcher);
builder.setItems(strItems,0);
CustomChoiceDialog alertDialog = null;
builder.setOnItemClickListener(new OnItemClickListener() {
@Override
public void onItemClick(AdapterView<?> parent, View view,
int position, long id) {
Toast.makeText(context, strItems[position], Toast.LENGTH_SHORT).show();
}
});
builder.setNegativeButton(android.R.string.cancel, new DialogInterface.OnClickListener() {
public void onClick(DialogInterface dialog, int which) {
dialog.dismiss();
}
});
alertDialog = builder.create();
alertDialog.show();
}
});
}
}
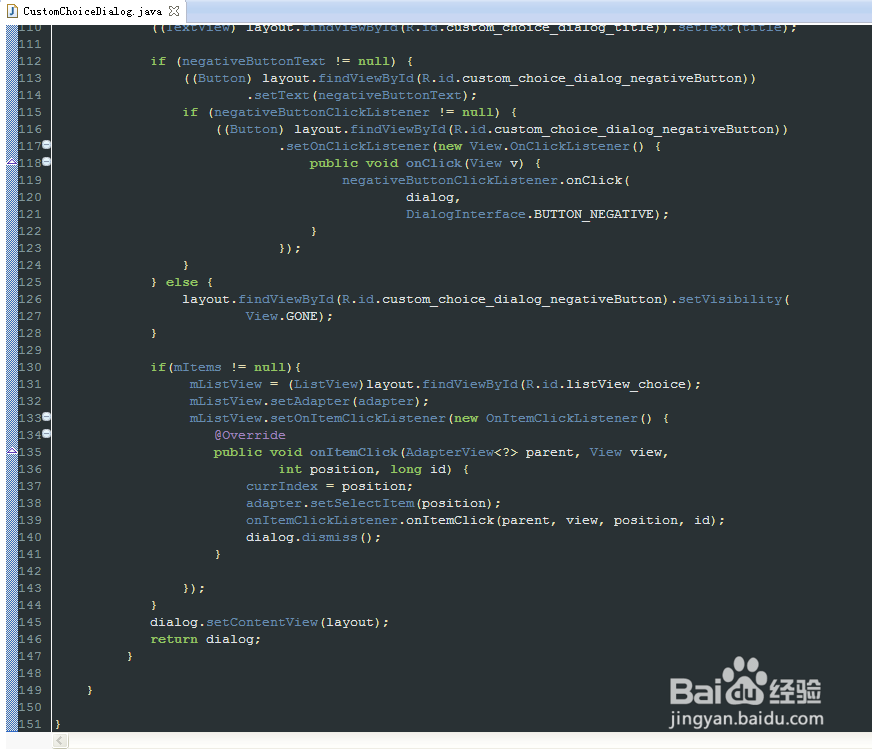
3、下面来看看自定义的CustomChoiceDialog,可以设置标题,图标,以及单选的内容,取消按钮。
单选的内容的中间部分可以修改为文本框,就可以实现一般的弹出提示框,按钮区可以添加确定按钮,本例子没有涉及这些,有需要的可以自己修改实现脂欠。
public class CustomChoiceDialog extends Dialog {
public CustomChoiceDialog(Context context) {
super(context);
}
public CustomChoiceDialog create() {
LayoutInflater inflater = (LayoutInflater) context
.getSystemService(Context.LAYOUT_INFLATER_SERVICE);
final CustomChoiceDialog dialog = new CustomChoiceDialog(context, R.style.Dialog);
dialog.setCanceledOnTouchOutside(false);
dialog.setCancelable(false);
View layout = inflater.inflate(R.layout.custom_choice_dialog_layout, null);
DisplayMetrics dm = context.getApplicationContext().getResources().getDisplayMetrics();
layout.setMinimumWidth(dm.widthPixels - 80);
dialog.addContentView(layout, new LayoutParams(
LayoutParams.MATCH_PARENT, LayoutParams.WRAP_CONTENT));
((ImageView) layout.findViewById(R.id.custom_choice_dialog_icon)).setBackgroundResource(icon);
((TextView) layout.findViewById(R.id.custom_choice_dialog_title)).setText(title);
if (negativeButtonText != null) {
((Button) layout.findViewById(R.id.custom_choice_dialog_negativeButton))
.setText(negativeButtonText);
if (negativeButtonClickListener != null) {
((Button) layout.findViewById(R.id.custom_choice_dialog_negativeButton))
.setOnClickListener(new View.OnClickListener() {
public void onClick(View v) {
negativeButtonClickListener.onClick(
dialog,
DialogInterface.BUTTON_NEGATIVE);
}
});
}
} else {
layout.findViewById(R.id.custom_choice_dialog_negativeButton).setVisibility(
View.GONE);
}
if(mItems != null){
mListView = (ListView)layout.findViewById(R.id.listView_choice);
mListView.setAdapter(adapter);
mListView.setOnItemClickListener(new OnItemClickListener() {
@Override
public void onItemClick(AdapterView<?> parent, View view,
int position, long id) {
currIndex = position;
adapter.setSelectItem(position);
onItemClickListener.onItemClick(parent, view, position, id);
dialog.dismiss();
}
});
}
dialog.setContentView(layout);
return dialog;
}
}
}
4、CustomChoiceDialog对应的配置文件custom_choice_dialog_layout.xml如下:
主要关注中间ListView部分(单选内容区,可以自己改造)
<?xml version="1.0" encoding="utf-8"?>
<LinearLayout >
<LinearLayout >
<ImageView />
<TextView />
</LinearLayout>
<ListView ></ListView>
<LinearLayout android:orientation="horizontal" >
<Button
android:text="取消" />
</LinearLayout>
</LinearLayout>


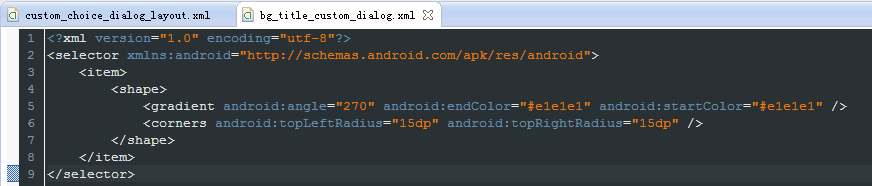
5、custom_choice_dialog_layout.xml顶部用到的背景文件bg_title_custom_dialog.xml:
<?xml version="1.0" encoding="utf-8"?>
<selector xmlns:android="http://schemas.android.com/apk/res/android">
<item>
<shape>
<gradient android:angle="270" android:endColor="#e1e1e1" android:startColor="#e1e1e1" />
<corners android:topLeftRadius="15dp" android:topRightRadius="15dp" />
</shape>
</item>
</selector>
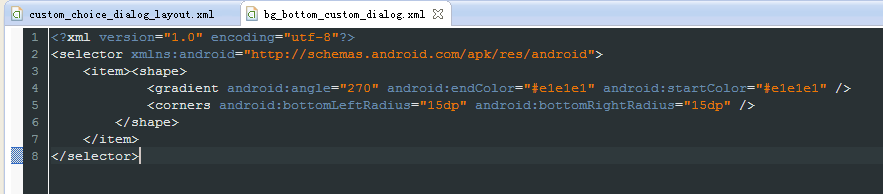
6、custom_choice_dialog_layout.xml底部用到的背景文件bg_bottom_custom_dialog.xml:
<?xml version="1.0" encoding="utf-8"?>
<selector xmlns:android="http://schemas.android.com/apk/res/android">
<item><shape>
<gradient android:angle="270" android:endColor="#e1e1e1" android:startColor="#e1e1e1" />
<corners android:bottomLeftRadius="15dp" android:bottomRightRadius="15dp" />
</shape>
</item>
</selector>
7、custom_choice_dialog_layout.xml中间部分(ListView)用到的背景文件bg_bottom_custom_dialog.xml:
<?xml version="1.0" encoding="utf-8"?>
<selector xmlns:android="http://schemas.android.com/apk/res/android">
<item>
<shape>
<gradient android:angle="270" android:endColor="#f5f5f5" android:startColor="#f5f5f5" />
</shape>
</item>
</selector>

8、自定义控件CustomChoiceDialog最主要的部分就是,中间单选ListView部分,看CustomChoiceDialog.java里的create方法底部,实现单选部分:
mListView = (ListView)layout.findViewById(R.id.listView_choice);
mListView.setAdapter(adapter);
mListView.setOnItemClickListener(new OnItemClickListener() {
@Override
public void onItemClick(AdapterView<?> parent, View view,
int position, long id) {
currIndex = position;
adapter.setSelectItem(position);
onItemClickListener.onItemClick(parent, view, position, id);
dialog.dismiss();
}
});

9、ListView所用到的SingleChoicAdapter,跟普通的Adapter是一样的,代码如下:
package com.example.test;
import android.content.Context;
import android.view.LayoutInflater;
import android.view.View;
import android.view.ViewGroup;
import android.widget.AdapterView;
import android.widget.AdapterView.OnItemClickListener;
import android.widget.BaseAdapter;
import android.widget.CheckBox;
import android.widget.TextView;
public class SingleChoicAdapter extends BaseAdapter implements OnItemClickListener {
private String[] mObjects;
private int mSelectItem = 0;
private LayoutInflater mInflater;
public SingleChoicAdapter(Context context, int checkBoxResourceId) {
init(context, checkBoxResourceId);
}
public SingleChoicAdapter(Context context, String[] objects, int checkBoxResourceId) {
init(context, checkBoxResourceId);
if (objects != null)
{
mObjects = objects;
}
}
private void init(Context context, int selectItem) {
mInflater = (LayoutInflater)context.getSystemService(Context.LAYOUT_INFLATER_SERVICE);
mSelectItem = selectItem;
}
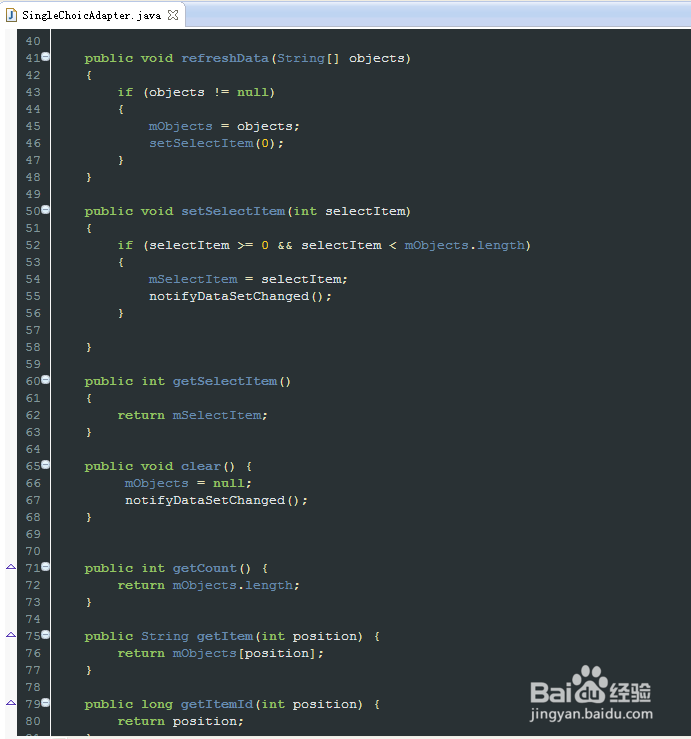
public void refreshData(String[] objects)
{
if (objects != null)
{
mObjects = objects;
setSelectItem(0);
}
}
public void setSelectItem(int selectItem)
{
if (selectItem >= 0 && selectItem < mObjects.length)
{
mSelectItem = selectItem;
notifyDataSetChanged();
}
}
public int getSelectItem()
{
return mSelectItem;
}
public void clear() {
mObjects = null;
notifyDataSetChanged();
}
public int getCount() {
return mObjects.length;
}
public String getItem(int position) {
return mObjects[position];
}
public long getItemId(int position) {
return position;
}
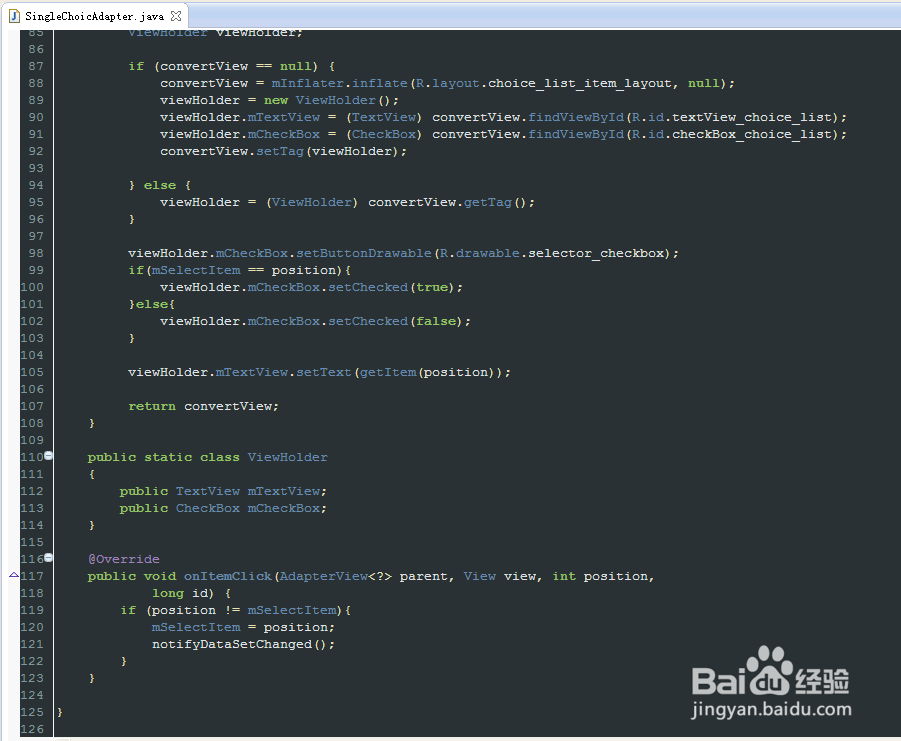
public View getView(int position, View convertView, ViewGroup parent) {
ViewHolder viewHolder;
if (convertView == null) {
convertView = mInflater.inflate(R.layout.choice_list_item_layout, null);
viewHolder = new ViewHolder();
viewHolder.mTextView = (TextView) convertView.findViewById(R.id.textView_choice_list);
viewHolder.mCheckBox = (CheckBox) convertView.findViewById(R.id.checkBox_choice_list);
convertView.setTag(viewHolder);
} else {
viewHolder = (ViewHolder) convertView.getTag();
}
viewHolder.mCheckBox.setButtonDrawable(R.drawable.selector_checkbox);
if(mSelectItem == position){
viewHolder.mCheckBox.setChecked(true);
}else{
viewHolder.mCheckBox.setChecked(false);
}
viewHolder.mTextView.setText(getItem(position));
return convertView;
}
public static class ViewHolder
{
public TextView mTextView;
public CheckBox mCheckBox;
}
@Override
public void onItemClick(AdapterView<?> parent, View view, int position,
long id) {
if (position != mSelectItem){
mSelectItem = position;
notifyDataSetChanged();
}
}
}

10、其中用到了单选按钮(也可以去掉单选按钮部分,直接用一文本框就可以了),单选按钮的样式selector_checkbox.xml:
<?xml version="1.0" encoding="utf-8"?>
<selector
xmlns:android="http://schemas.android.com/apk/res/android">
<item android:state_enabled="true" android:state_checked="false" android:drawable="@drawable/checkbox_unselect" />
<item android:state_enabled="true" android:state_checked="true" android:drawable="@drawable/checkbox_selected" />
<item android:drawable="@drawable/checkbox_unselect" />
</selector>
需要的两张图片可在网上随便找两张。

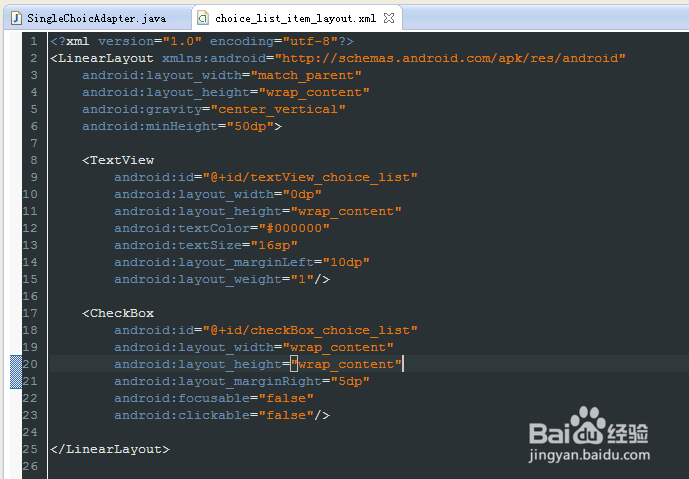
11、SingleChoicAdapter用到的配置文件choice_list_item_layout.xml:
<?xml version="1.0" encoding="utf-8"?>
<LinearLayout xmlns:android="http://schemas.android.com/apk/res/android"
android:layout_width="match_parent"
android:layout_height="wrap_content"
android:gravity="center_vertical"
android:minHeight="50dp">
<TextView
android:id="@+id/textView_choice_list"
android:layout_width="0dp"
android:layout_height="wrap_content"
android:textColor="#000000"
android:textSize="16sp"
android:layout_marginLeft="10dp"
android:layout_weight="1"/>
<CheckBox
android:id="@+id/checkBox_choice_list"
android:layout_width="wrap_content"
android:layout_height="wrap_content"
android:layout_marginRight="5dp"
android:focusable="false"
android:clickable="false"/>
</LinearLayout>
12、例子中用到的几张图片


13、还有一个按钮的样式文件,这里就不贴了,使用时,可根据自己项目的实际情况自定义一个。