Unity 实用技巧 之 快速获取图上对应点颜色像素
1、Texture2D.GetPixel:
1)函码净数形式
public Color GetPixel(int 狠散x, int y);
2)功牺场何能描述
Returns pixel color at coordinates (x, y).
If the pixel coordinates are out of bounds (larger than width/height or small than 0), they will be clamped or repeated based on the texture's wrap modeTexture coordinates start at lower left cornerIf you are reading a large block of pixels from the texture, it may be faster to use GetPixels32 or GetPixels which returns a whole block of pixel colorsThe texture must have the Read/Write Enabled flag set in the import settings, otherwise this function will fail. GetPixel is not available on Textures using Crunch texture compression.
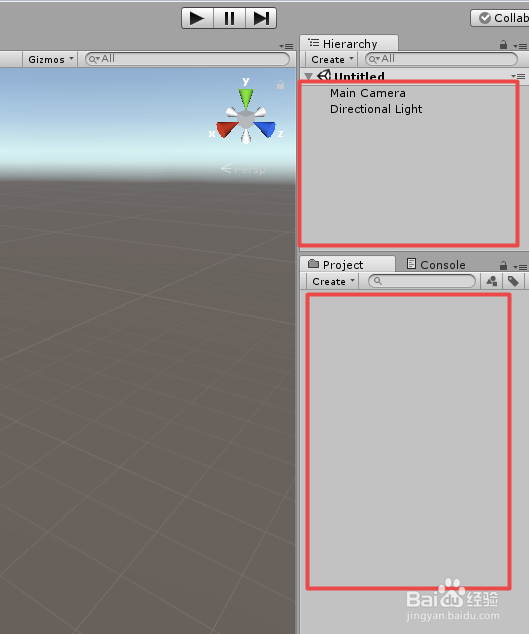
1、打开Unity,新建一个空工程,具体如下
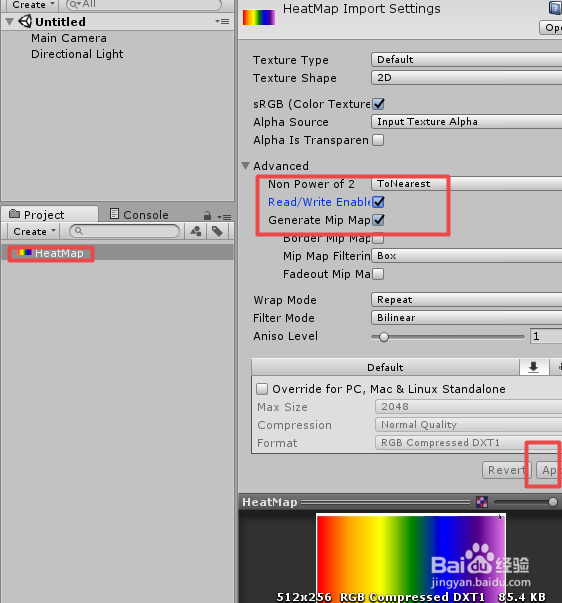
2、导入一张热度颜色图,并且勾线上图片属性的“Read/Write Enabled”,接着“Apply”修改结果,具体如下图
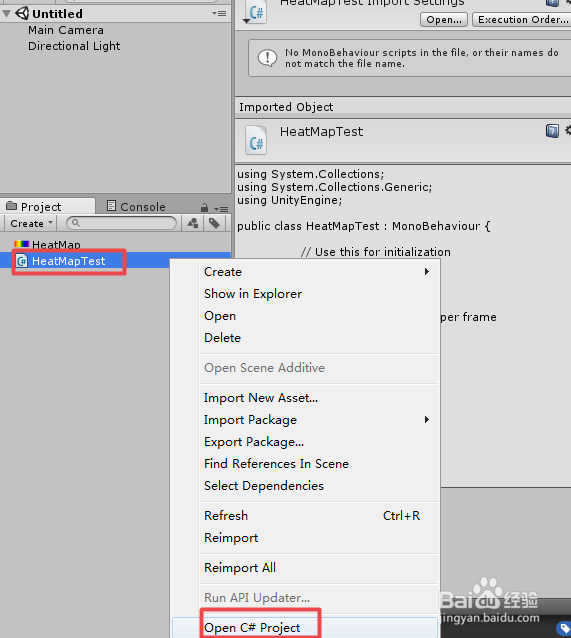
3、新建一个脚本“HeatMapTest”,然后双击脚本或者右键“Open C# Project”打开脚本,具体如下图
4、在打开的“HeatMapTest”脚本上编写代码,首先设置变量获取图片,设置“Value”值控制颜色取值,设置输出颜色变量,然后在Update函数里面调用获取颜色像素的函数,最后实现该函数,把Value值转化为图上的点,在“GetPixel”获取图片该点的像素,并返回,代码及代码说明如下图
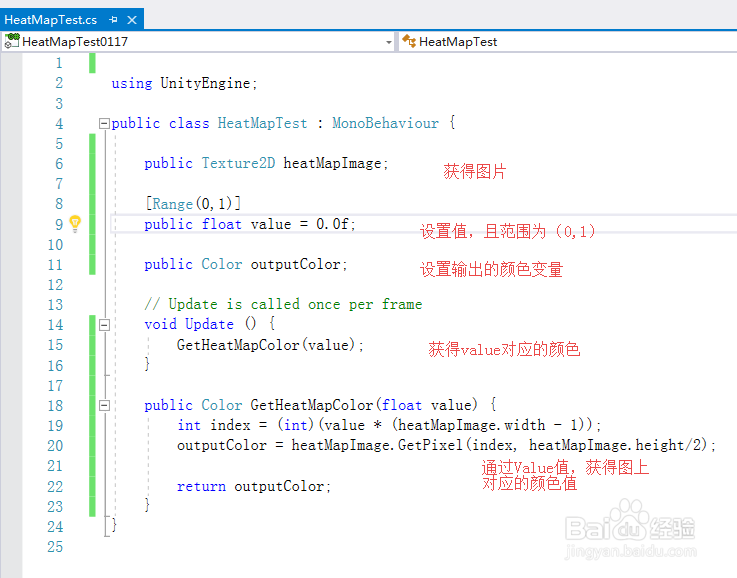
5、“HeatMapTest ”脚本具体了内容如下:
using UnityEngine;
public class HeatMapTest : MonoBehaviour {
public Texture2D heatMapImage;
[Range(0,1)]
public float value = 0.0f;
public Color outputColor;
// Update is called once per frame
void Update () {
GetHeatMapColor(value);
}
public Color GetHeatMapColor(float value) {
int index = (int)(value * (heatMapImage.width - 1));
outputColor = heatMapImage.GetPixel(index, heatMapImage.height/2);
return outputColor;
}
}
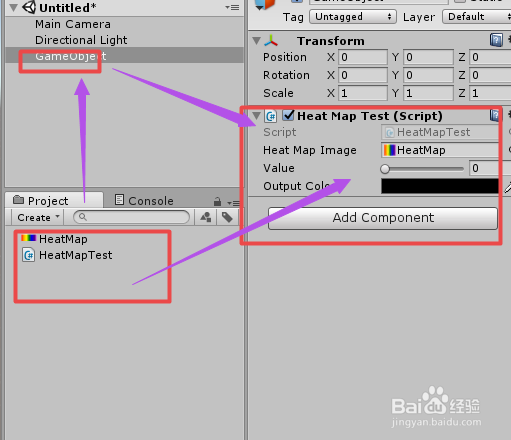
6、脚本编译正确,回到Unity界面,在场景中新建一个“GameObject”,把脚本“HeatMapTest ”赋给“GameObject”,并把图片赋给脚本,具体如下图
7、运行场景,通过改变“value”值,对应的颜色“OutputColor”也对应的颜色变化,具体如下图

8、到此,《Unity 实用技巧 之 快速获取图上对应点颜色像素》讲解结束,谢谢