Unity 攻击槽系统教程之三 Enemy的控制实现
1、选中场景中的 Enemy,给物体添加 NvaMeshAgent 组件,具体如下图

2、在工程中新建一个脚本 Enemy 来实现 Enemy 追随 Player的移动,双击打开脚本进行编辑,具体如下图

3、脚本 Enemy 具体代码和代码说明如下图

4、Enemy 脚本具体内容如下:
using UnityEngine;
using UnityEngine.AI;
public class Enemy: MonoBehaviour
{
//追随目标设置和刷新位置事件介个设置
GameObject target = null;
float pathTime = 0f;
// Use this for initialization
void Start()
{
//获取追随目标
target = GameObject.Find("Player");
}
// Update is called once per frame
void Update()
{
//刷新计时,每0.5秒之后进入if分支
pathTime += Time.deltaTime;
if (pathTime > 0.5f)
{
//重新计时
pathTime = 0f;
//设置目标位置以及目标方向上的间距(根据需要调整),从而定义目标点
Vector3 tpos = target.transform.position;
Vector3 offset = (transform.position - tpos).normalized * 0.8f;
GetComponent<NavMeshAgent>().destination = tpos + offset;
}
}
}
5、脚本编译正确回到Unity界面,把脚本 Enemy 挂载到场景 Enemy 物体上,具体如下图

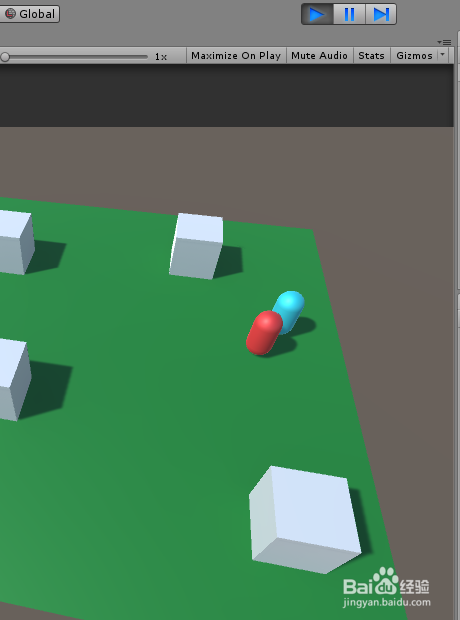
6、运行场景,即可看到 Enemy 跟随 Player 的移动,具体如下图

7、到此,《Unity 攻击槽系统教程之三 Enemy的控制实现》讲解结束,谢谢
1、What Are Attack Slots:
Attack slot systems are generally pretty simple and can make combat look much better. Essentially, what they do is assign an attack position to each attacker so that the attackers don’t just bunch up and either end up on top of each other, or end up behind another attacker.
If you only expect one attacker at a time, it’s not going to help, but 2 or more on 1 and it can be an invaluable tool.