springboot创建demo例子
1、springboot搭建完了之后,可以先大致了解一下。
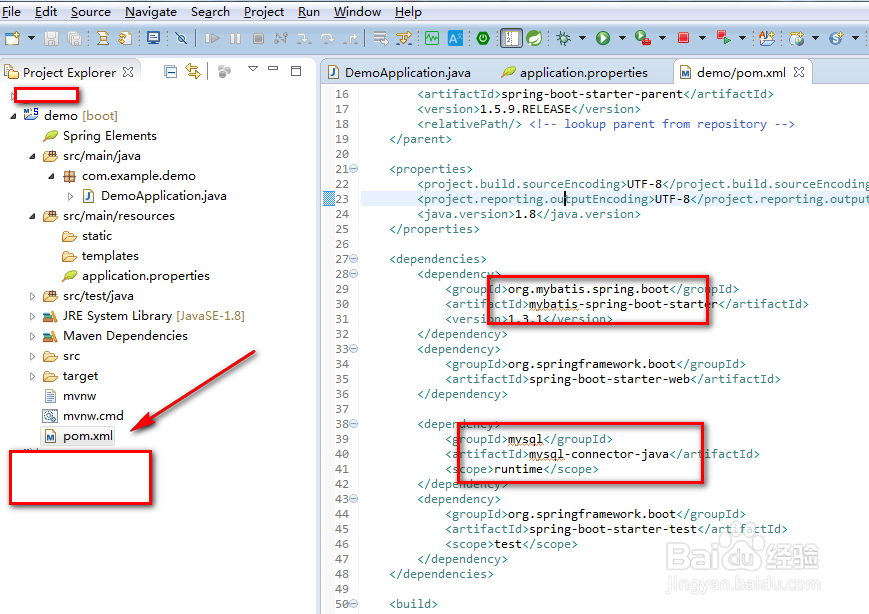
pom.xml这个里面放了我们很多的配置,比如mybatis和MySQL等等,可以了解一下
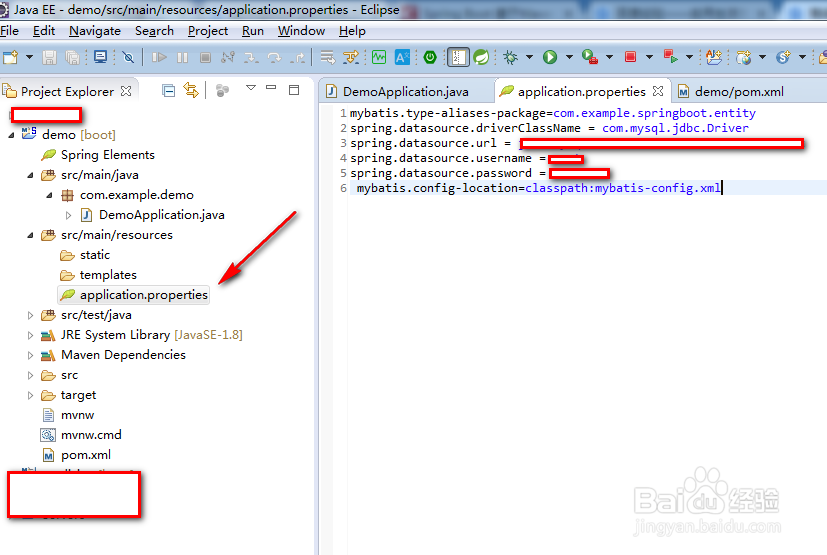
2、application.properties这个文件可以存放我们连接数据的一些配置,还可以映射一些重要的文件,如图
下面的mybatis-config.xml可以先删掉
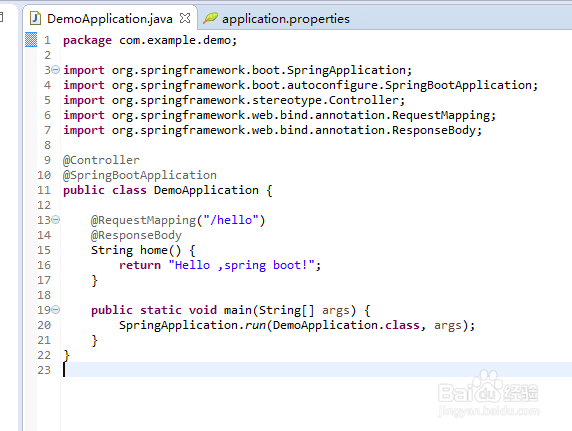
3、DemoApplication这个类就是我们的启动类,以后启动springboot就可以使用
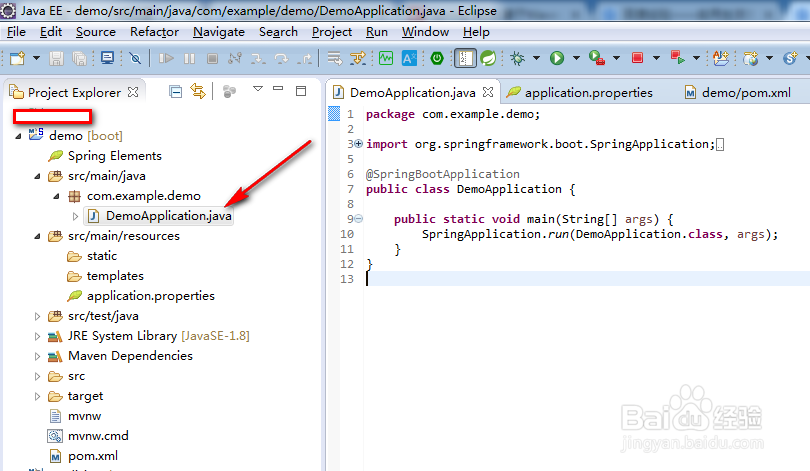
4、可以把下面代码复制粘贴到我们的启动类
package com.example.demo;
import org.springframework.boot.SpringApplication;
import org.springframework.boot.autoconfigure.SpringBootApplication;
import org.springframework.stereotype.Controller;
import org.springframework.web.bind.annotation.RequestMapping;
import org.springframework.web.bind.annotation.ResponseBody;
@Controller
@SpringBootApplication
public class DemoApplication {
@RequestMapping("/hello")
@ResponseBody
String home() {
return "Hello ,spring boot!";
}
public static void main(String[] args) {
SpringApplication.run(DemoApplication.class, args);
}
}
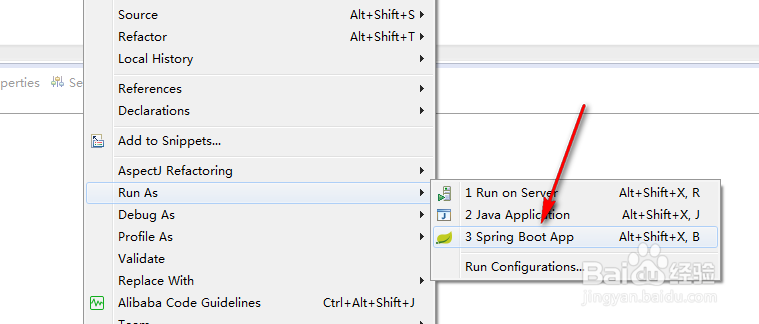
5、右击Run As,选择springboot启动
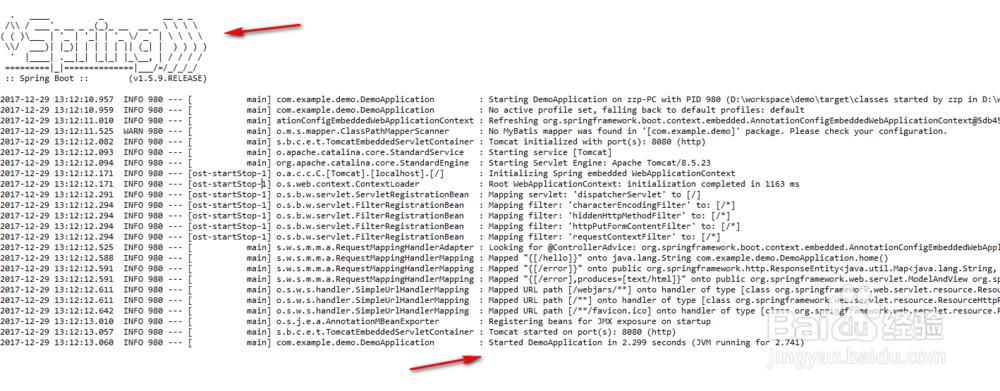
6、启动成功
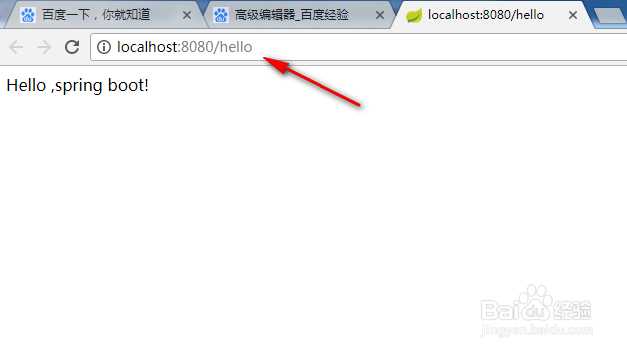
7、在浏览器输入http://localhost:8080/hello
然后看到运行结果!