Unity 入门教程 场景淡入淡出过场(优化)实现二
1、思路概述:
通过OnGUI的GUI.DrawTexture进行画图,其中不断改变画图的Alpha值来实现淡入淡出的效果,其中场景切换也在其中实现
2、GUI:
The GUI class is the interface for Unity's GUI with manual positioning.
3、GUI.DrawTexture:
1)函数形式
public static void DrawTexture(Rect position, Texture image);
2)参数解释
position:Rectangle on the screen to draw the texture within.
image:Texture to display.
3)功能描述
Draw a texture within a rectangle.
Draws a border with rounded corners within a rectangle. The texture is used to pattern the border. Note that this method only works on shader model 2.5 and above.
4)使用举例
using UnityEngine;
using System.Collections;
public class ExampleClass : MonoBehaviour {
public Texture aTexture;
void OnGUI() {
if (!aTexture) {
Debug.LogError("Assign a Texture in the inspector.");
return;
}
GUI.DrawTexture(new Rect(10, 10, 60, 60), aTexture, ScaleMode.ScaleToFit, true, 10.0F);
}
}
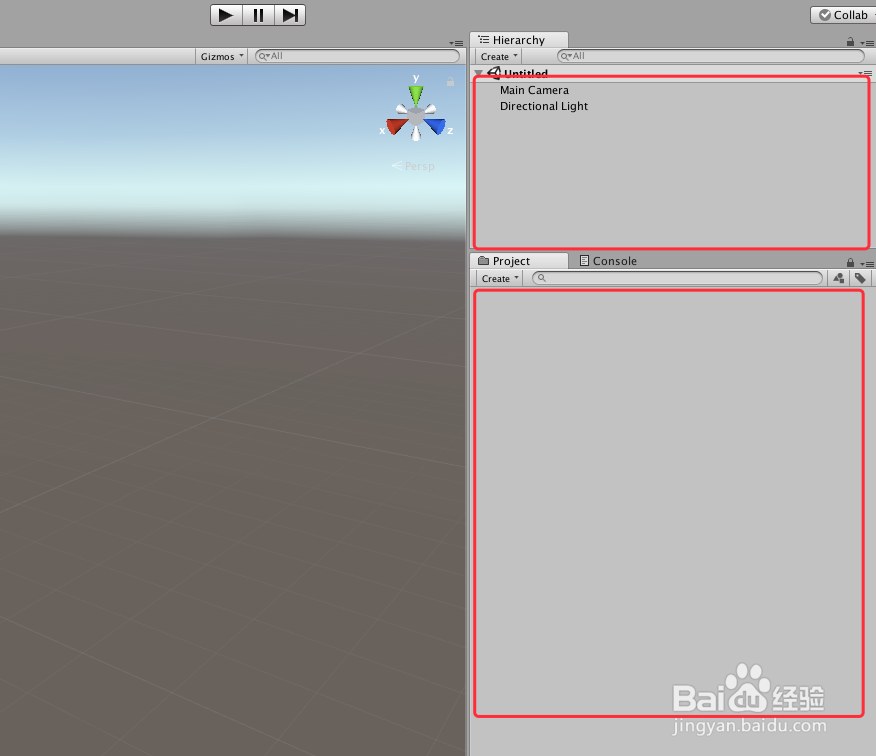
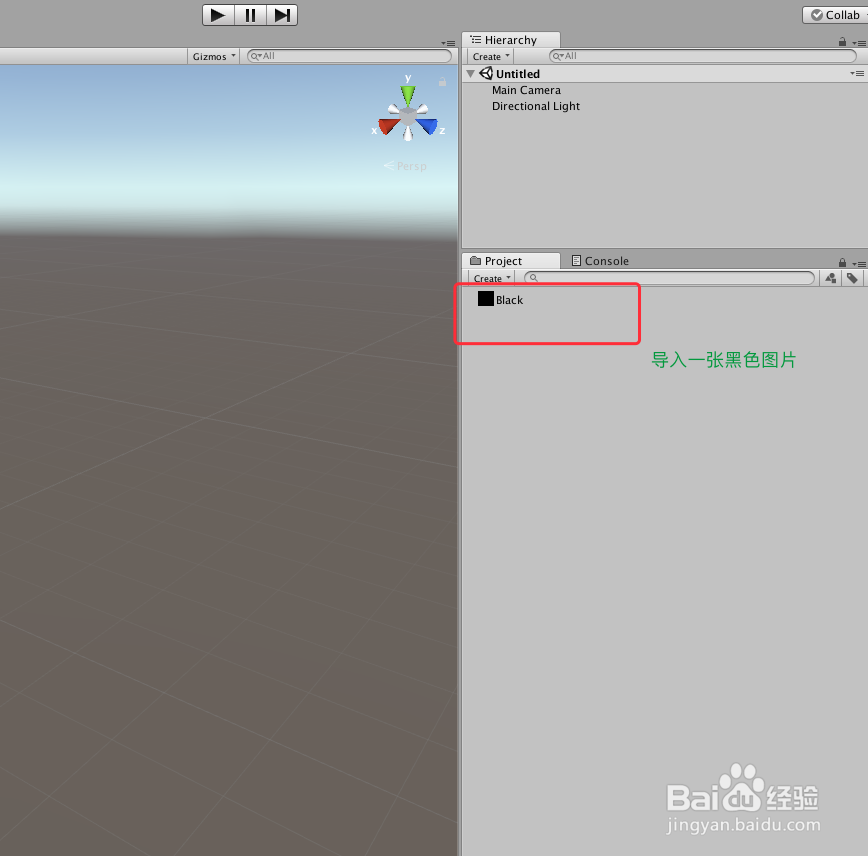
1、打开Unity,新建一个工程,项工程里面导入一张纯黑的图片,作为过场背景,具体如下图
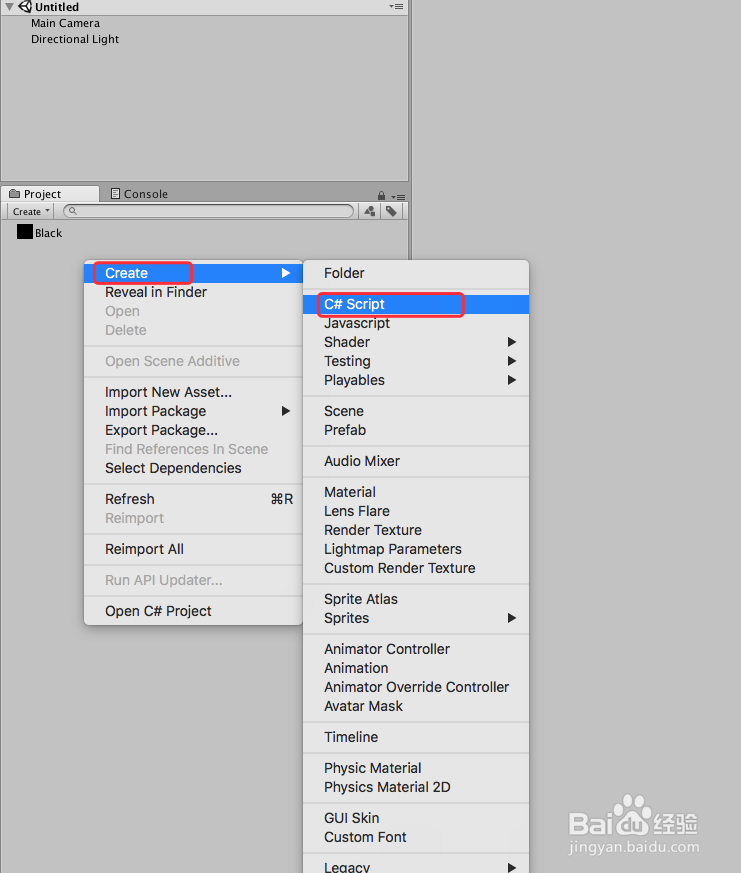
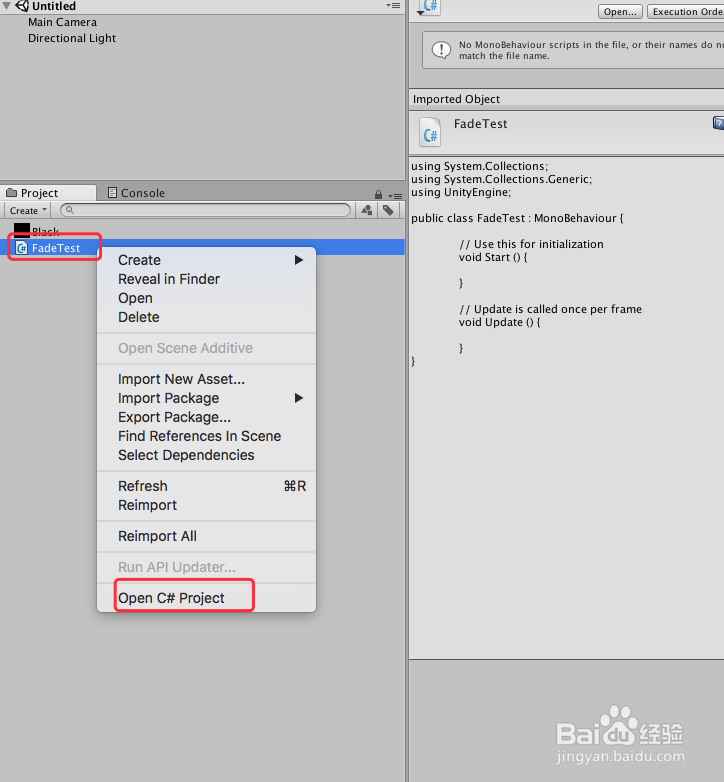
2、在场景中新建一个C#脚本,可以命名为“fadeTest”,然后双击脚本或者右键“Open C# Project”,具体如下图
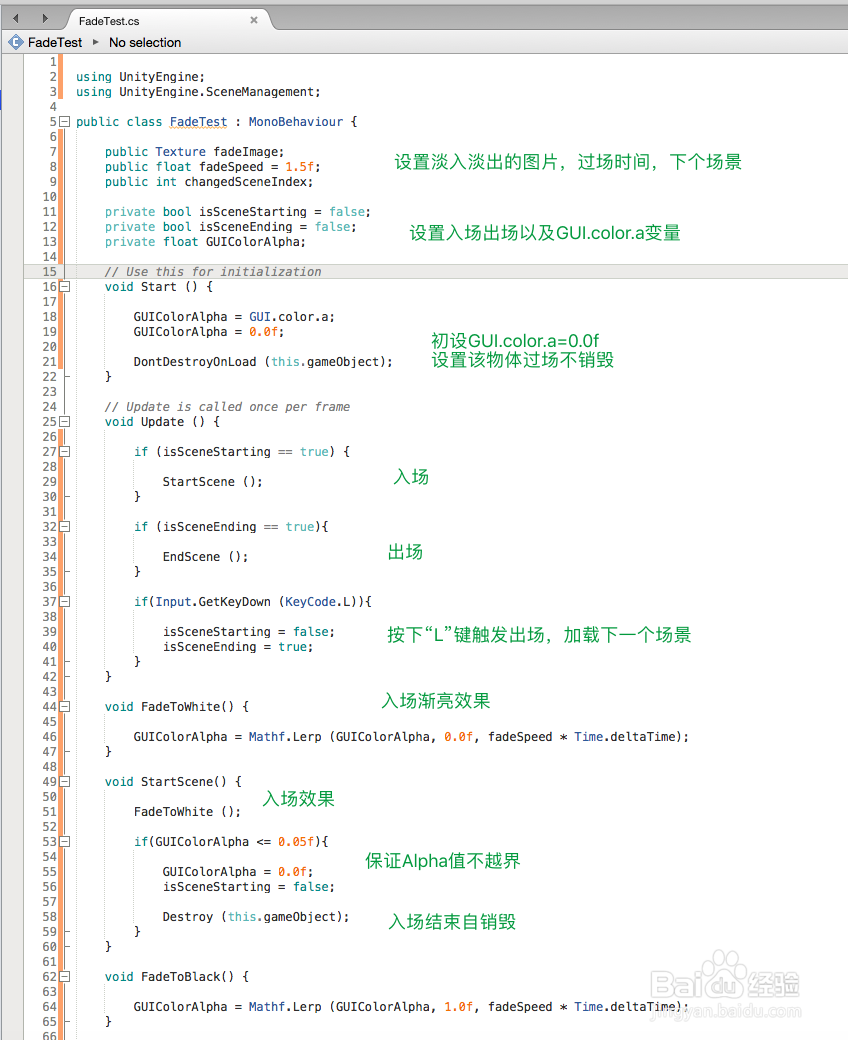
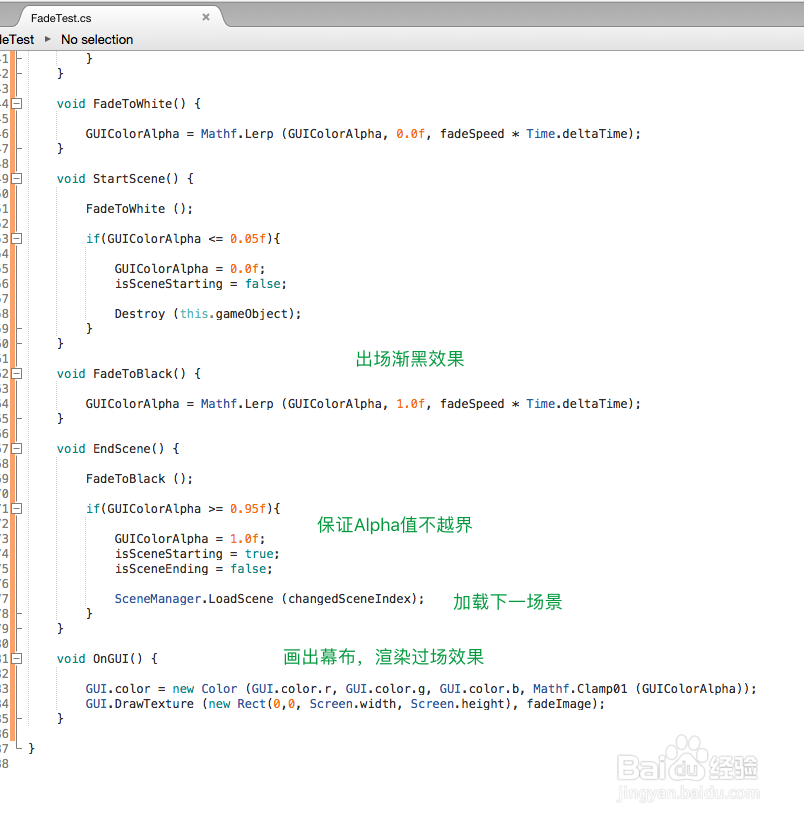
3、在打开的脚本“fadeTest”进行编辑,首先命名一些变量,来设置过场背景,过场速度,下个场景以及 一些过场的设定参数,然后在Start函数中获得GUI.color.a,并设置初值,并设置该脚本过场不销毁,接着在Update函数中进行一些状态的监控,以及按下“L”键切换场景,出现过场效果,随后写两个来函数来实现GUI.color.a的Alpha值渐变,并再实现入场出场调用渐变Alpha函数,且保证Alpha不越界,最后在OnGUI上画出淡入淡出的图片,相关代码和代码说明如下图
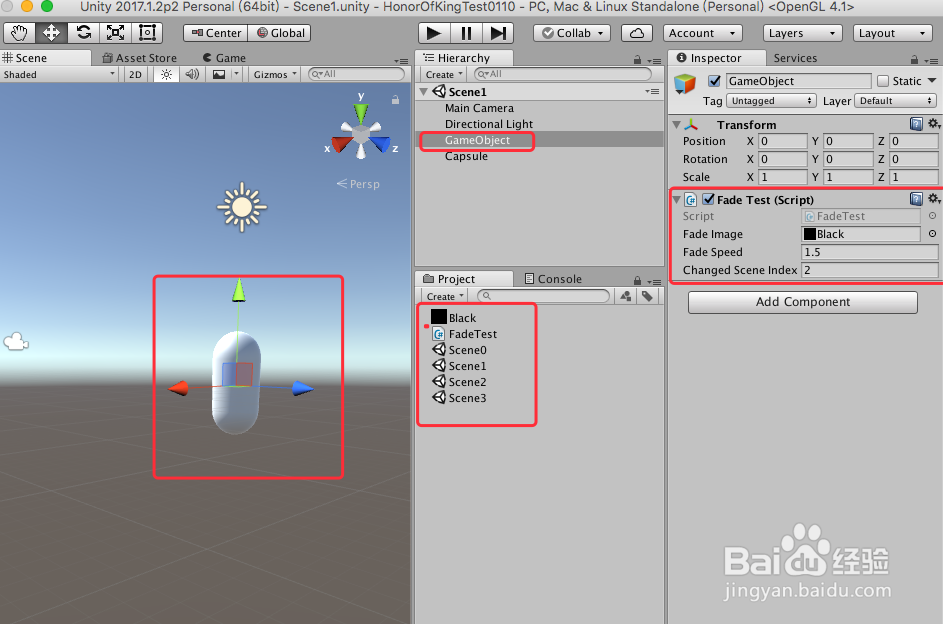
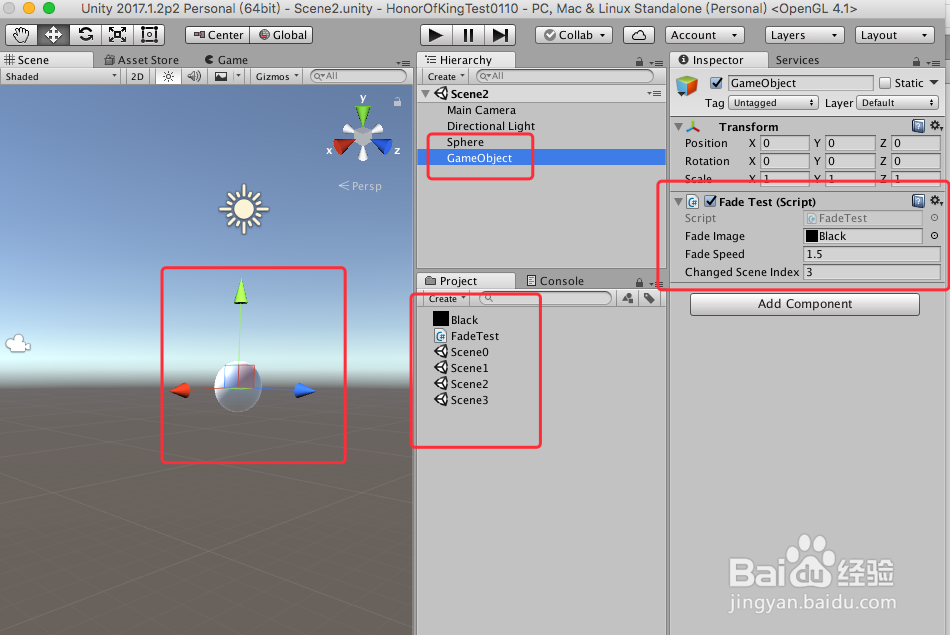
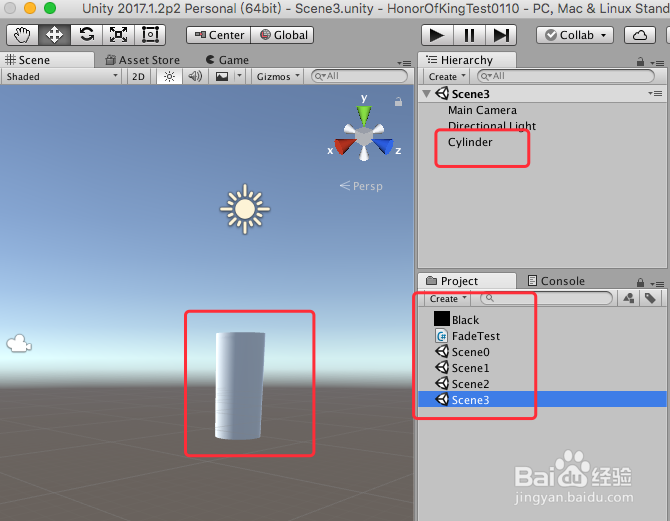
4、加班呢编译正确后,回到Unity界面,在场景中新建一个GameObject,并把脚本挂上,同时附上图片与切换场景值,在建一个3D物体作为参照;再新建几个场景,同理操作,具体如下图

5、在顶上菜单栏打开“File”-“Build Setting...”,把场景依次添加进去,具体如下图

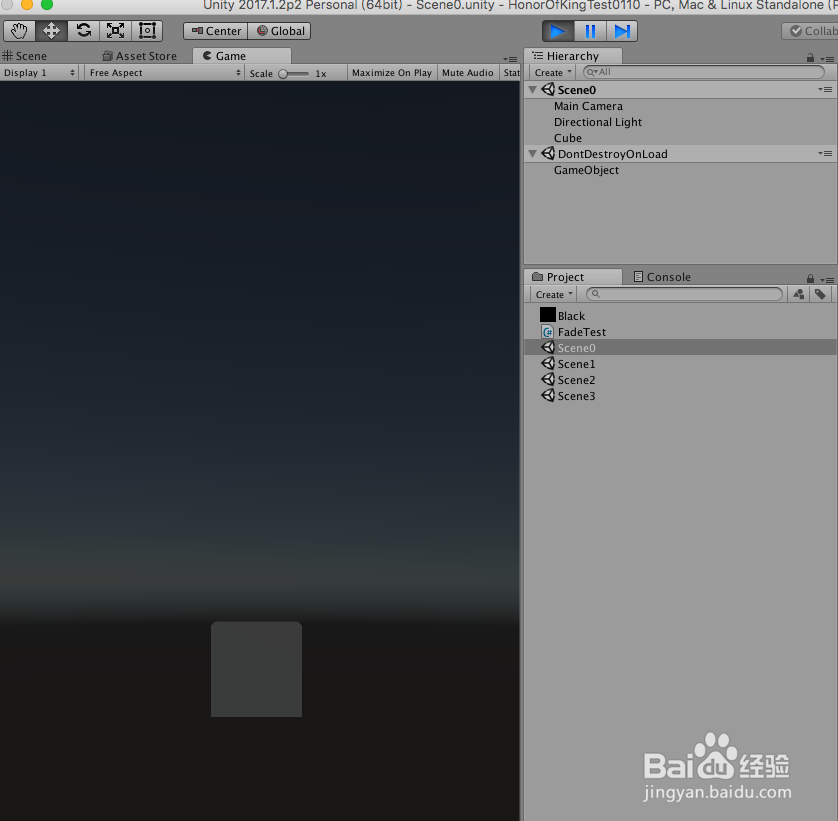
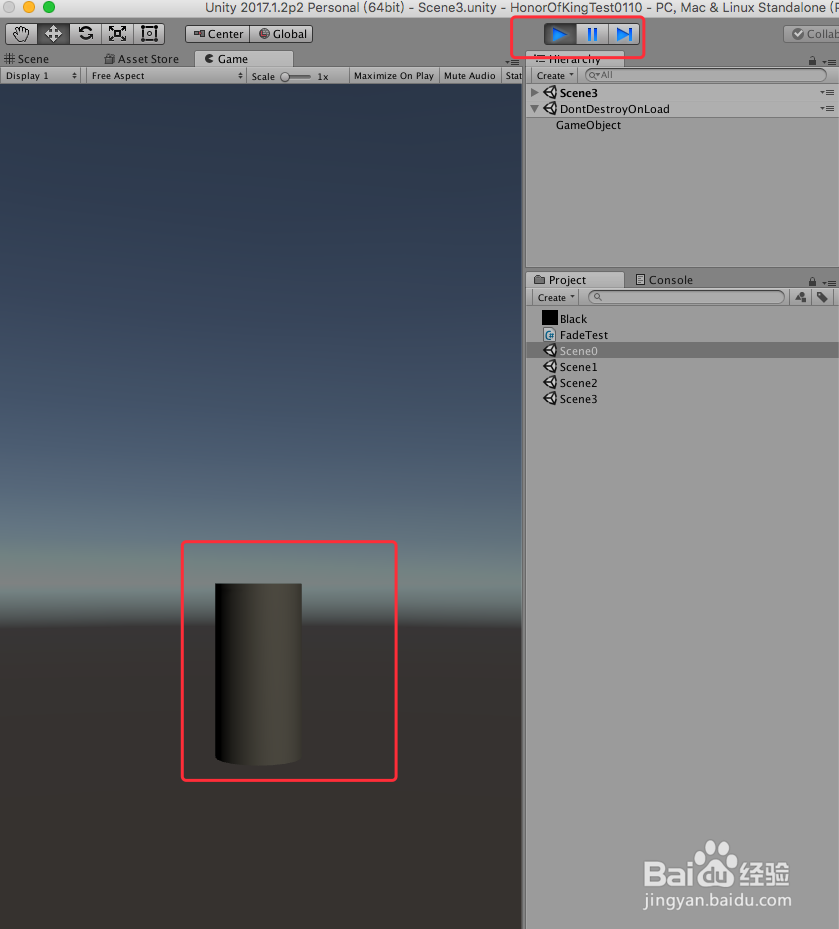
6、运行场景,按下“L”键进行场景切换,效果与预期一致,具体如下图
7、到此,《Unity 入门教程 场景淡入淡出过场(优化)实现二》讲解结束,谢谢