IOS Plist 创建、写入和 读取
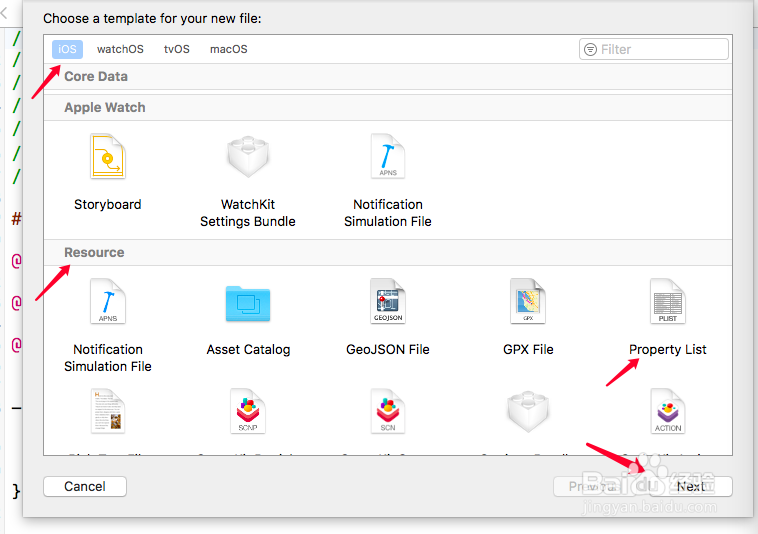
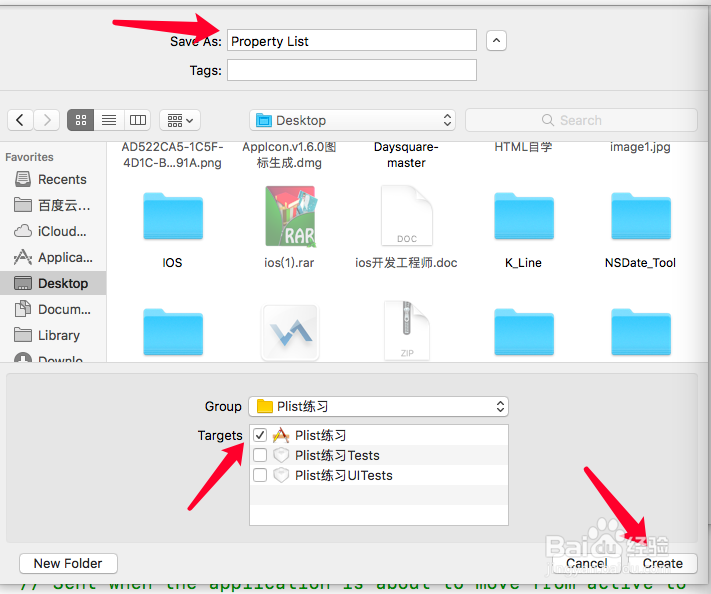
1、======方法一、 直接在工程目录中创建======
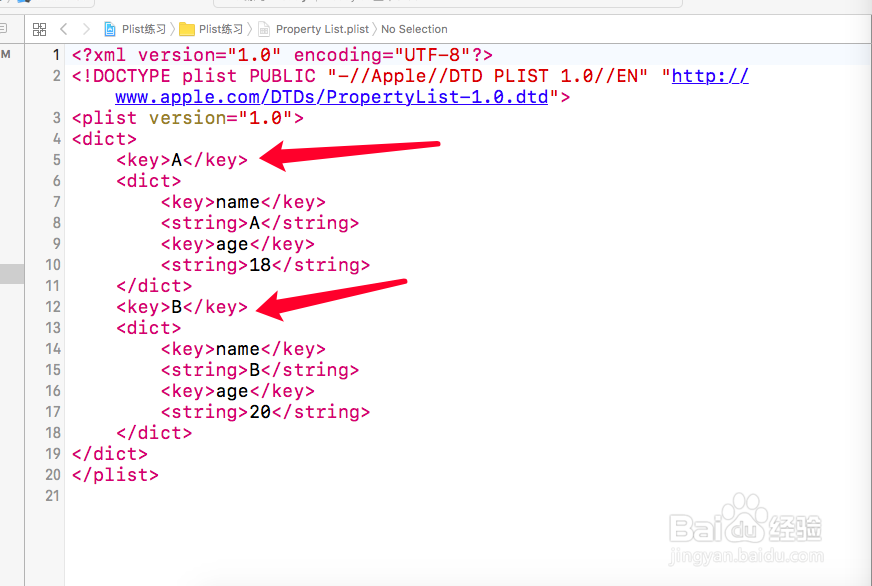
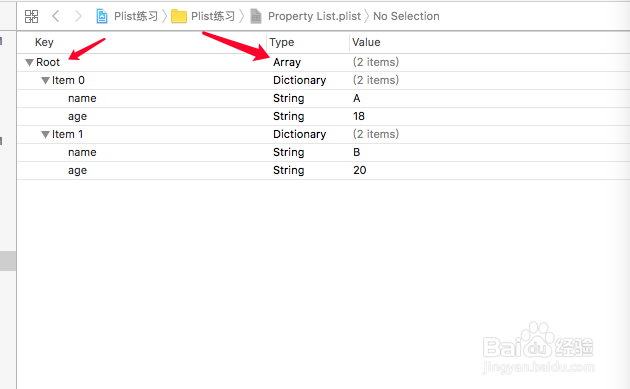
如上图,文件名Property List.plist
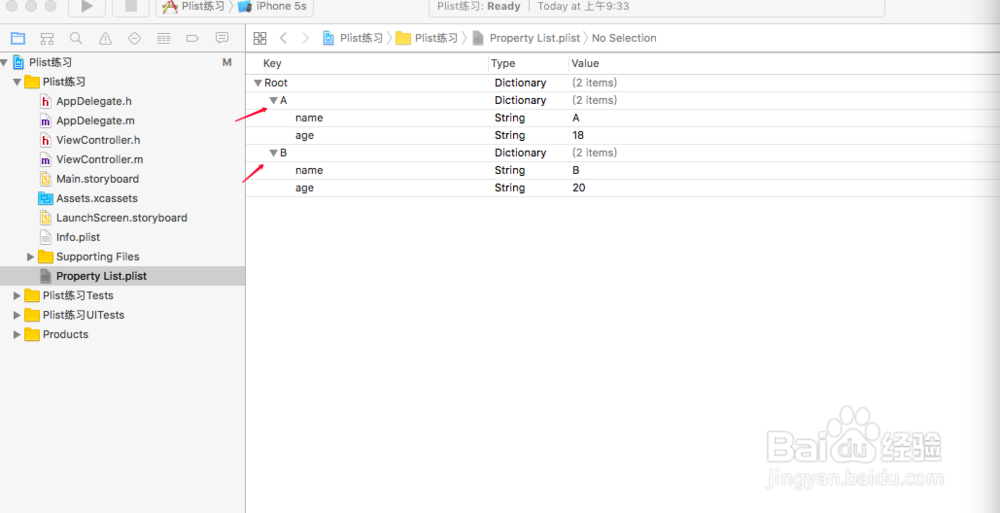
plist的root 可以为 数组(NSArray) 和 字典(NSDictionary)
【注意】都是不可变数组 , 在储存时 也要是不可变

2、创建数据,打开,如上图
添加数据直接右键add row或者点击上图红框中的加,(注意前面三角形)如果三角形朝下是建立下级,三角形往右是建立同级数据
3、右键文件名open as点击 source code将会出现下面xml文件
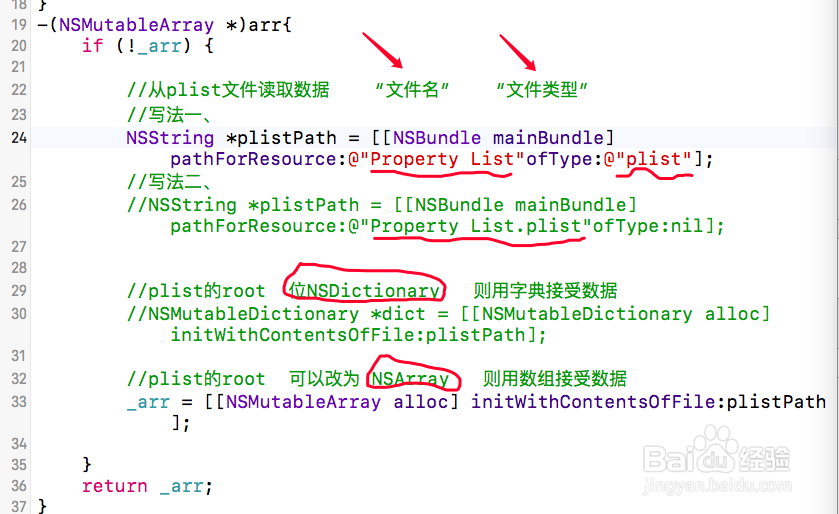
4、======读取plist=================
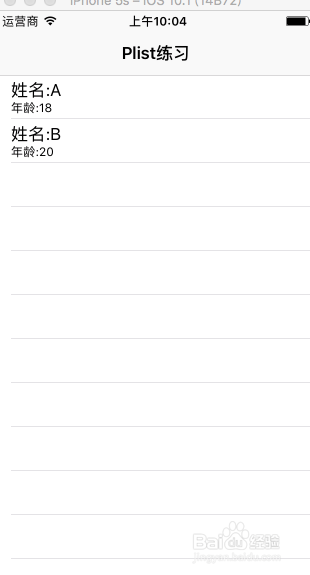
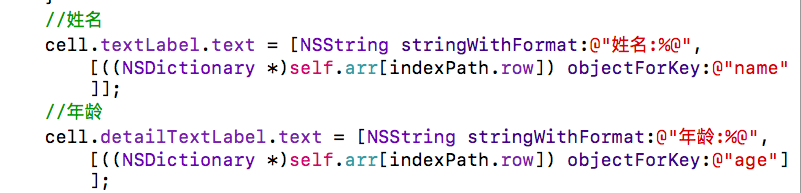
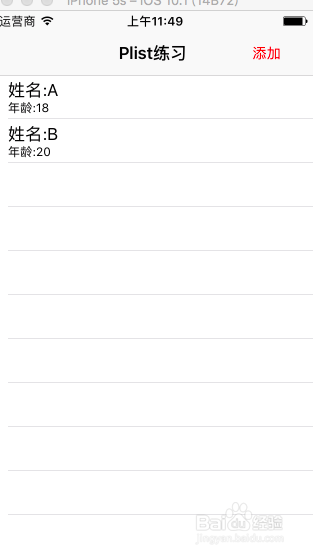
5、通过tableView展示数据:
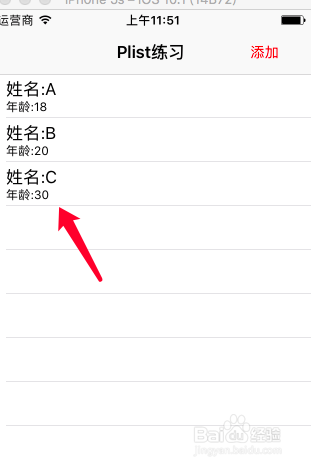
6、=========写入plist============
//plist文件已经存在(在工厂目录中创建)
//获取已有plist文件的路径
NSString *plistPath = [[NSBundle mainBundle] pathForResource:@"Property List" ofType:@"plist"];
//plist 中的 root是 NSArray 结构,NSArray里面是NSDictionary结构:
NSMutableArray *usersArr = [[NSMutableArray alloc]initWithContentsOfFile:plistPath];
//
NSDictionary *dic =@{@"name":fd1.text,@"age":fd2.text};
[usersArr addObject:dic]; //添加到数组
//把数据写入plist文件
BOOL ifSave = [[usersArr copy] writeToFile:plistPath atomically:YES];
if (ifSave) { //保存成功
//刷新
[self.arr addObject:dic];
[_tableView reloadData]; //刷新tableView
}

1、方法二、 通过代码创建plist 之前没有plist文件存在 数据保存的时候才
//获取本地沙盒路径
NSArray *path = NSSearchPathForDirectoriesInDomains(NSDocumentDirectory, NSUserDomainMask, YES);
//获取完整路径
NSString *documentsPath = [path objectAtIndex:0];
NSString *plistPath = [documentsPath stringByAppendingPathComponent:@"usersList.plist"];
NSMutableDictionary *usersDic = [[NSMutableDictionary alloc ] init];
//设置属性值
[usersDic setObject:@"chan" forKey:@"name"];
[usersDic setObject:@"123456" forKey:@"password"];
//写入文件
[usersDic writeToFile:plistPath atomically:YES];