CentOS7使用yum安装Oracle19c
1、查看防火墙状态
systemctl status firewalld

2、关闭系统防火墙(如外网环境不能关闭防火墙自行开放相关需要使用的端口即可)
systemctl stop firewalld
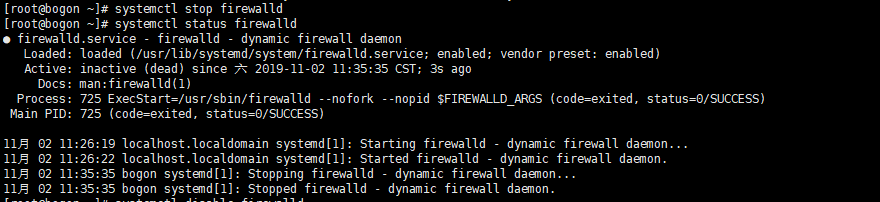
3、禁用防火墙服务
systemctl disable firewalld

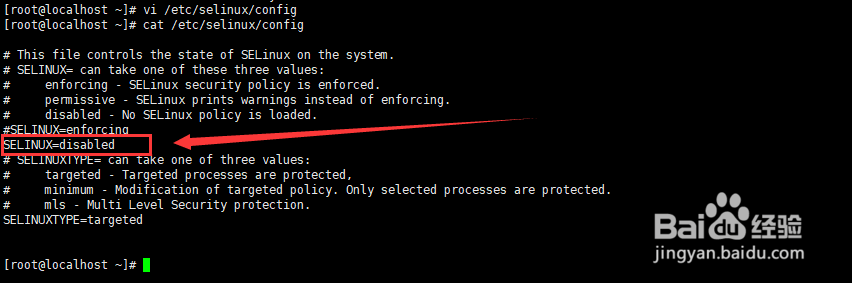
4、关闭selinux
vi /etc/selinux/config
SELINUX=disabled
5、安装oracle需要的依赖(已通过互联网提前下载并制作yum仓库,配置一个离线yum源直接安装即可)
vi /etc/yum.repos.d/local.repo
[local]
name=local
enable=1
baseurl=file:///root/base
gpgchech=0
执行如下命令查看
cat /etc/yum.repos.d/local.repo

6、清除Yum缓存
yum clean all

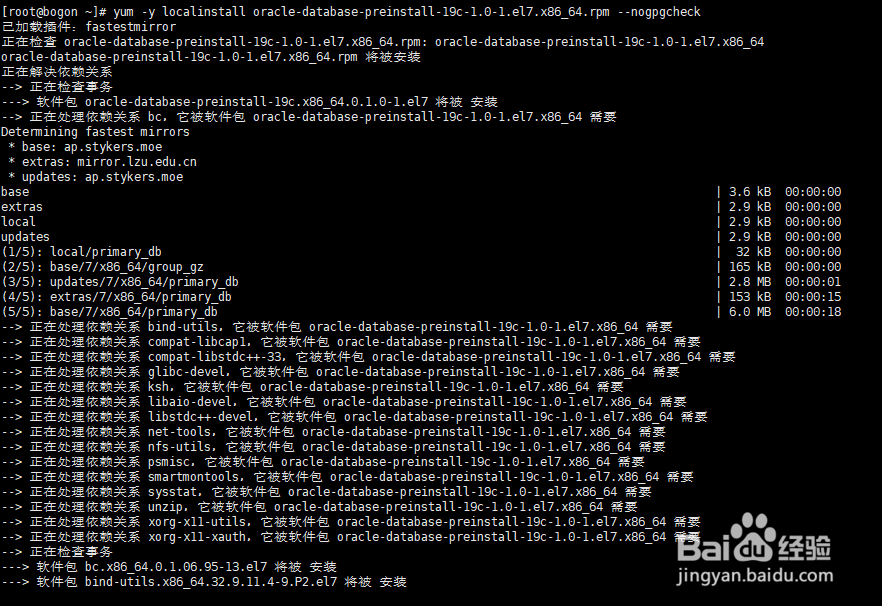
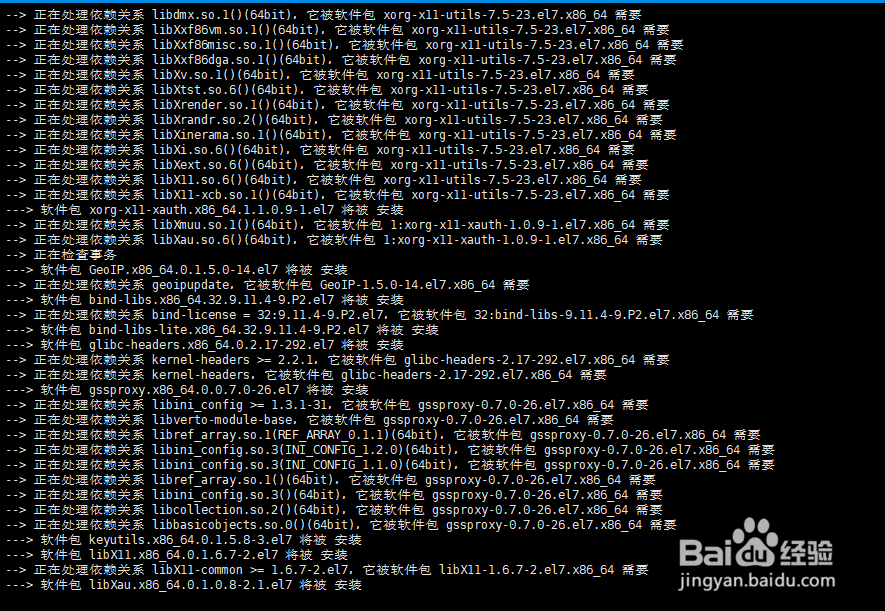
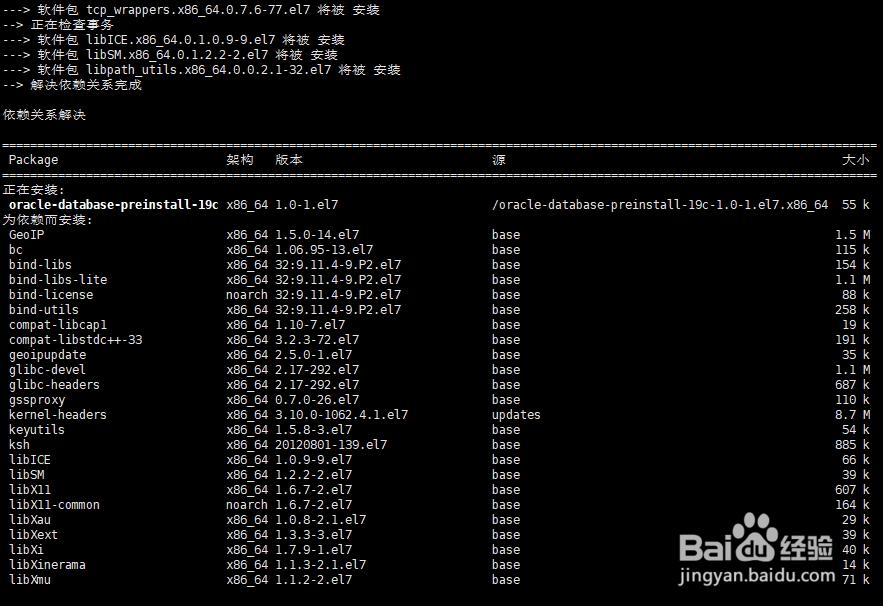
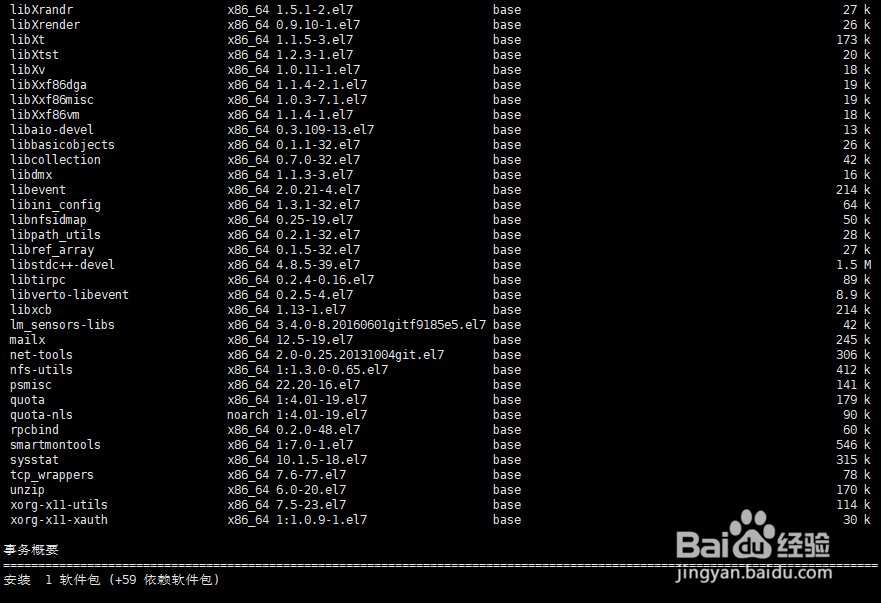
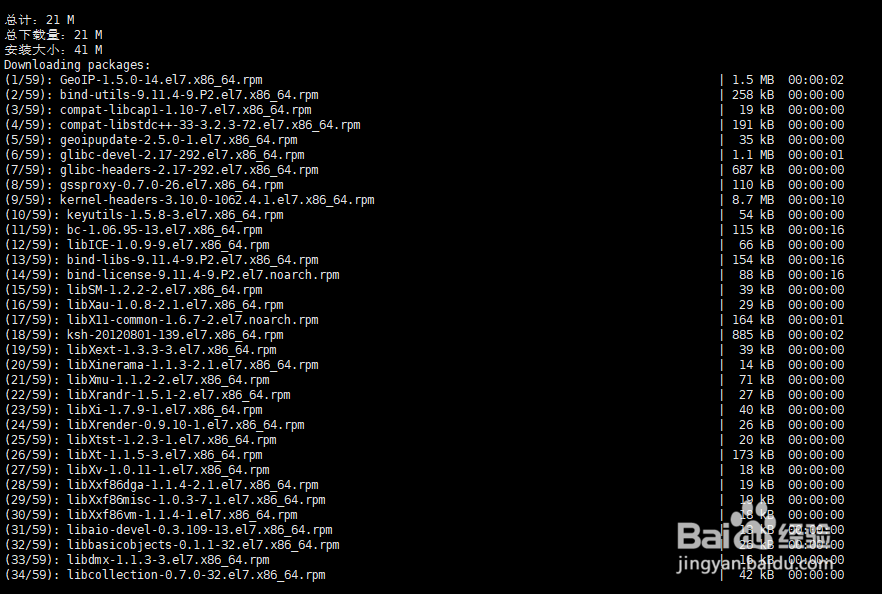
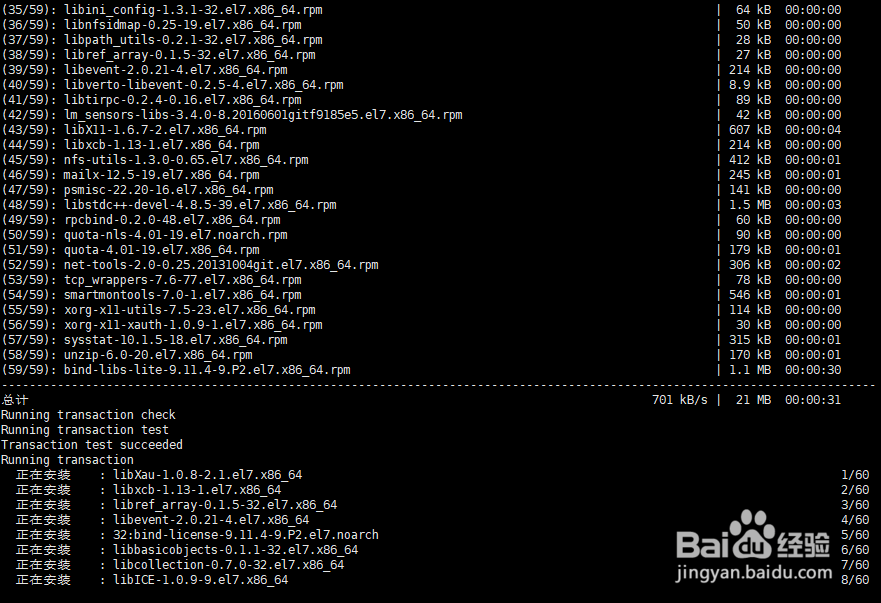
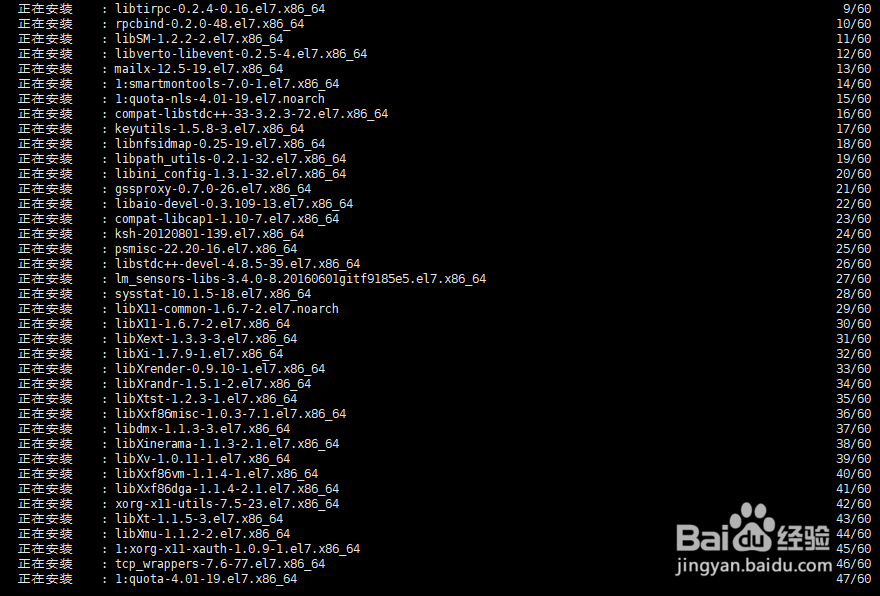
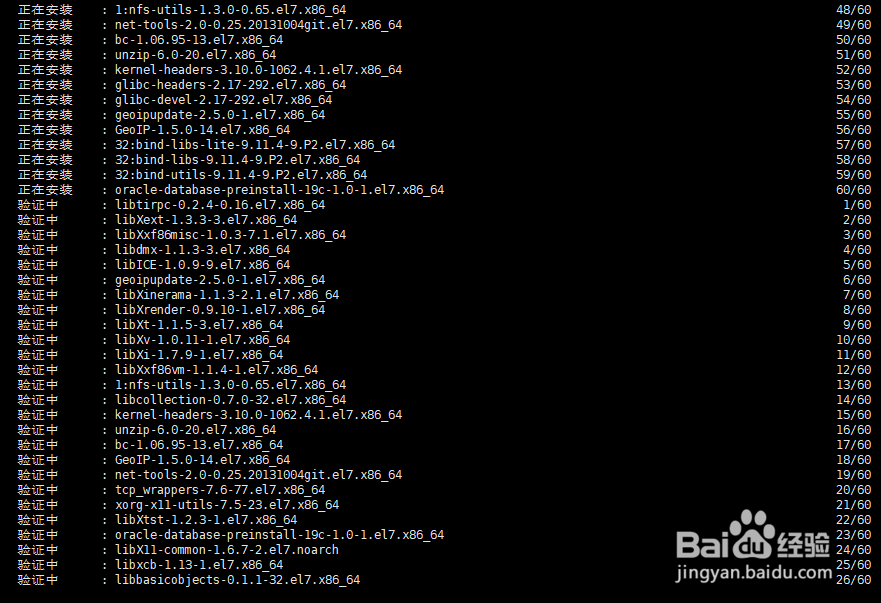
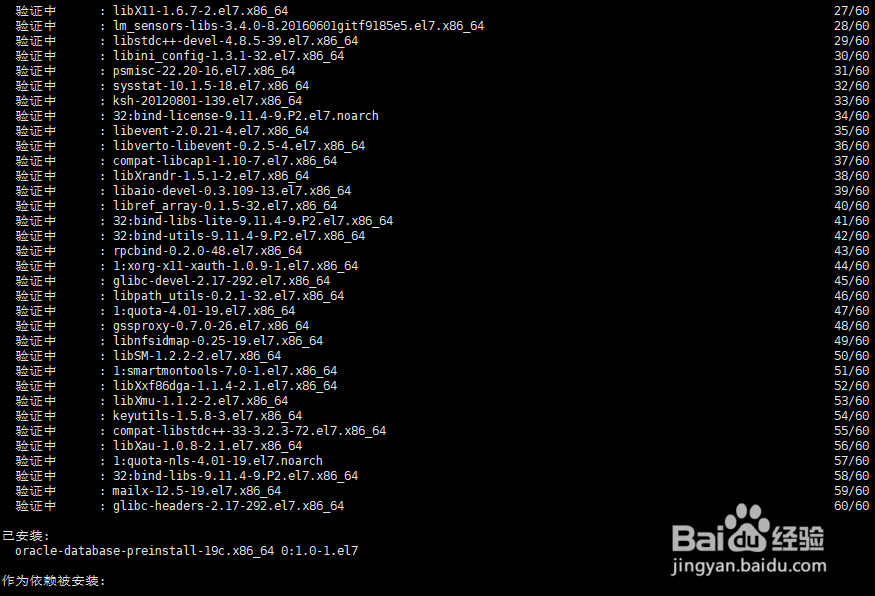
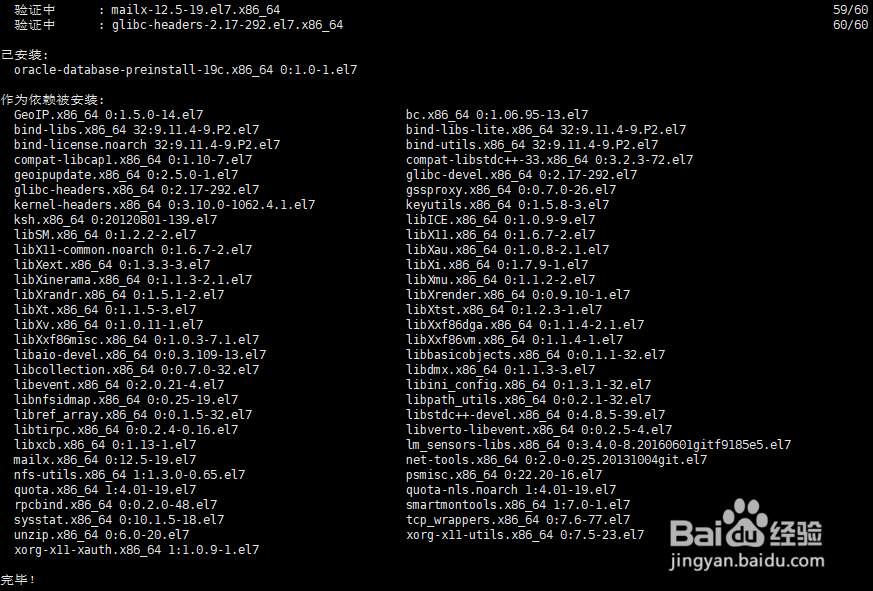
7、安装oracle-database-preinstall
yum -y localinstall oracle-database-preinstall-19c-1.0-1.el7.x86_64.rpm --nogpgcheck

8、安装Oracle 19c
yum -y localinstall oracle-database-ee-19c-1.0-1.x86_64.rpm --nogpgcheck
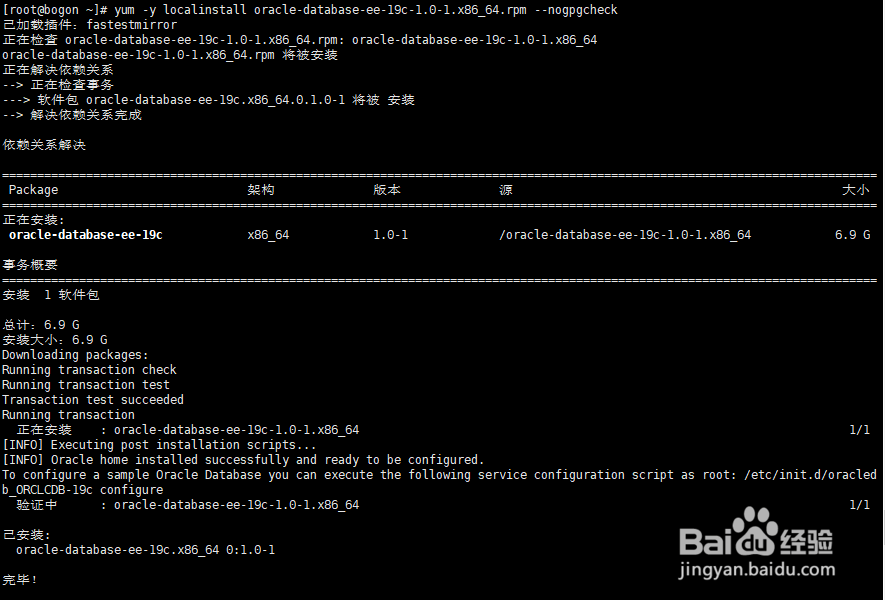
9、通过如下命令查看oracle是否安装成功
ps -ef | grep ora
一般安装 oracle ,默认会有 oracle 的用户。
id oracle

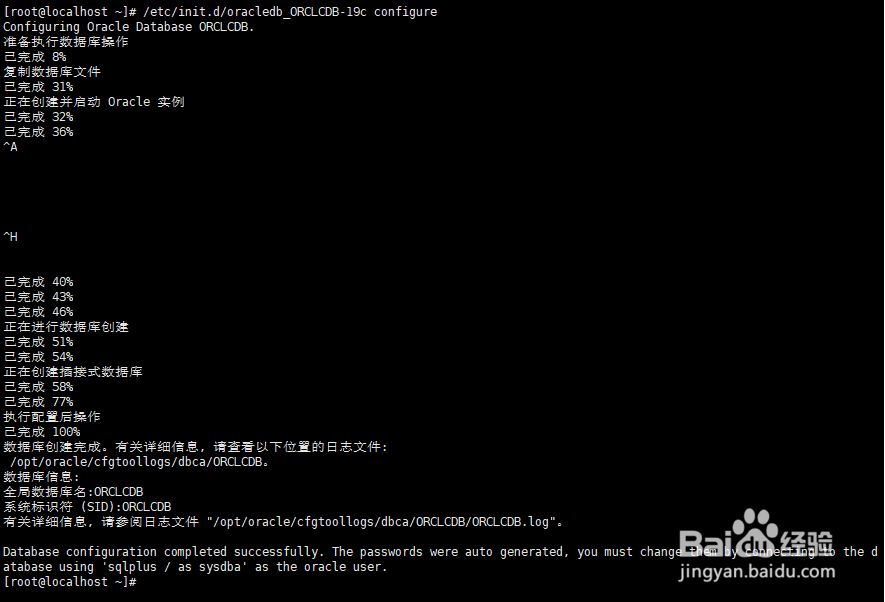
1、初始化Oracle数据库,这个过程一般比较漫长
/etc/init.d/oracledb_ORCLCDB-19c configure
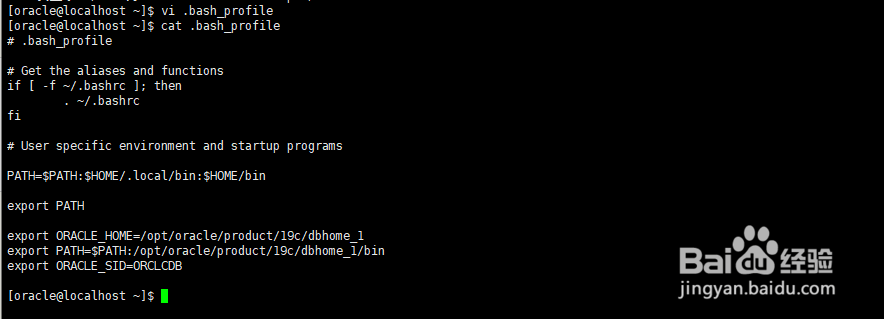
2、配置环境变量,切换到oracle用户下
su - oracle
vi .bash_profile
export ORACLE_HOME=/opt/oracle/product/19c/dbhome_1
export PATH=$PATH:/opt/oracle/product/19c/dbhome_1/bin
export ORACLE_SID=ORCLCDB
source .bash_profile


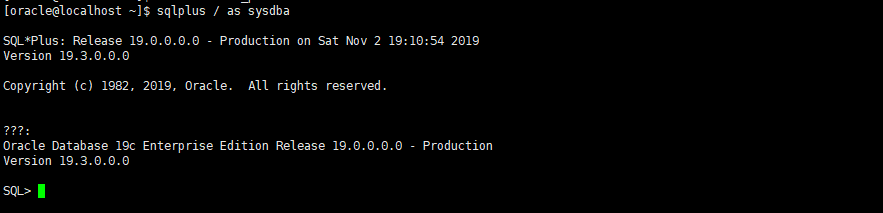
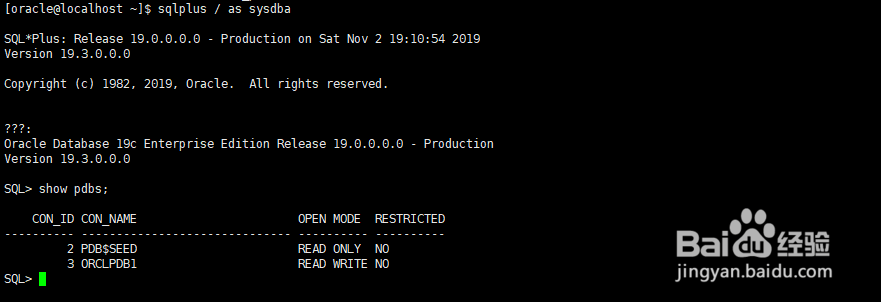
3、登陆oracle数据库
sqlplus / as sysdba
show pdbs;
4、修改密码
alter user system identified by 123456;

5、配置完成。