myeclipse使用maven搭建springboot
1、首先引入springboot-starter父项工程。
<parent>
<groupId>org.springframework.boot</groupId>
<artifactId>spring-boot-starter-parent</artifactId>
<version>2.0.0.RELEASE</version>
<relativePath/> <!-- lookup parent from repository -->
</parent>

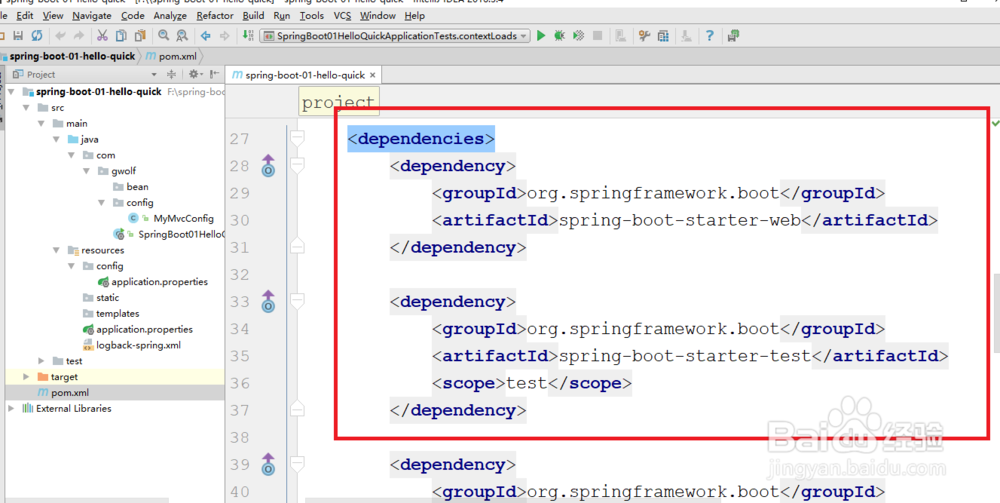
2、引入springboot测试包和springboot web支持jar包。
<dependencies>
<dependency>
光川 <groupId>org.springframework.boot</groupId>
<artifactId>spring-boot-starter-web</artifactId>
</dependency>
<dependency>
<groupId>org.springframework.boot</groupId>
<artifactId>spring-boot-starter-test</artifactId>
<scope>test</scope>
</dependency>
<dependency>
<groupId>org.springframework.boot</groupId>
<artifactId>spring-boot-configuration-processor</artifactId>
言杰 <optional>true</optional>
</dependency>
<dependency>
<groupId>org.springframework.boot</groupId>
<artifactId>spring-boot-starter-thymeleaf</artifactId>
</dependency>
</dependencies>
3、加入springboot打包插件配置。
<build>
<plugins>
<plugin>
<groupId>org.springframework.boot</groupId>
<场哄阅artifactId>spring-boot-maven-plugin</artifactId>
</plugin>
</plugins>
</build>

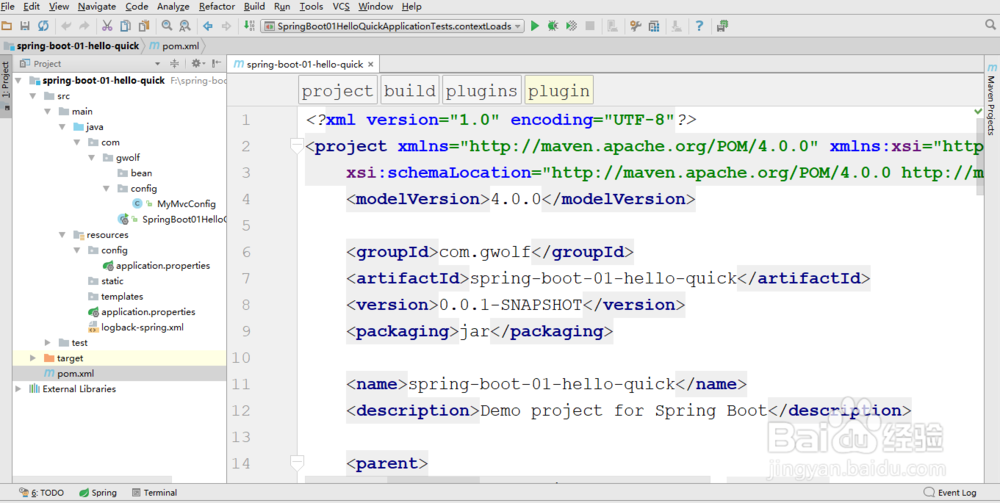
4、整体pom文件配置如下:
<?xml version="1.0" encoding="UTF-8"?><project xmlns="http://maven.apache.org/POM/4.0.0" xmlns:xsi="http://www.w3.org/2001/XMLSchema-instance" xsi:schemaLocation="http://maven.apache.org/POM/4.0.0 http://maven.apache.org/xsd/maven-4.0.0.xsd"> <modelVersion>4.0.0</modelVersion> <groupId>com.gwolf</groupId> <artifactId>spring-boot-01-hello-quick</artifactId> <version>0.0.1-SNAPSHOT</version> <packaging>jar</packaging> <name>spring-boot-01-hello-quick</name> <description>Demo project for Spring Boot</description> <parent> <groupId>org.springframework.boot</groupId> <artifactId>spring-boot-starter-parent</artifactId> <version>2.0.0.RELEASE</version> <relativePath/> <!-- lookup parent from repository --> </parent> <properties> <project.build.sourceEncoding>UTF-8</project.build.sourceEncoding> <project.reporting.outputEncoding>UTF-8</project.reporting.outputEncoding> <java.version>1.8</java.version> </properties> <dependencies> <dependency> <groupId>org.springframework.boot</groupId> <artifactId>spring-boot-starter-web</artifactId> </dependency> <dependency> <groupId>org.springframework.boot</groupId> <artifactId>spring-boot-starter-test</artifactId> <scope>test</scope> </dependency> <dependency> <groupId>org.springframework.boot</groupId> <artifactId>spring-boot-configuration-processor</artifactId> <optional>true</optional> </dependency> <dependency> <groupId>org.springframework.boot</groupId> <artifactId>spring-boot-starter-thymeleaf</artifactId> </dependency> </dependencies> <build> <plugins> <plugin> <groupId>org.springframework.boot</groupId> <artifactId>spring-boot-maven-plugin</artifactId> </plugin> </plugins> </build></project>
5、建立一个REST风格的控制类:
package com.gwolf.controller;
import org.springframework.stereotype.Controller;
import org.springframework.web.bind.annotation.RequestMapping;
import org.springframework.web.bind.annotation.ResponseBody;
@Controller
public class HelloController {
@ResponseBody
@RequestMapping("/hello")
public String hello() {
return "hello World!";
}
}

6、创建springboot程序启动类:
package com.gwolf;
import org.springframework.boot.SpringApplication;
import org.springframework.boot.autoconfigure.SpringBootApplication;
@SpringBootApplication
public class SpringBoot01HelloQuickApplication {
public static void main(String[] args) {
SpringApplication.run(SpringBoot01HelloQuickApplication.class, args);
}
}

7、启动主程序类,我们可以通过浏览器地址直接访问到我们控制器的代码了。