SpringBoot整合Mybatis配置druid数据库连接池
1、springboot得到的最终效果是一个简化到极致的web开发,但是只要牵扯到web开发,就绝对不可能缺少数据层操作,所有的开发都一定秉持着MVC设计模式的原则,MVC里面业务层不可少,数据层永远要与业务层绑定在一起,既然要进行数据层的操作,那么肯定首选的一定就是mybatis,因为mybatis整合处理之后尤其是与spring整合里面可以直接避免掉DAO层的编写,同时VO类也是最干净的,这一点上绝对要比其他的ORMapping组件都方便。
配置druid数据源
这个数据库连接池的配置是有某里提供的,并且由于其性能很高,同时具备有很好的监控性,所以已经开始广泛的使用了。
首先创建一个数据库的创建脚本。
CREATE TABLE `dept` (
`dname` varchar(100) DEFAULT NULL,
`loc` varchar(50) DEFAULT NULL,
`deptno` int(11) NOT NULL AUTO_INCREMENT,
PRIMARY KEY (`deptno`)
) ENGINE=InnoDB AUTO_INCREMENT=18 DEFAULT CHARSET=utf8;

2、随后要进行druid的数据源的配置,如果要想使用druid的数据源,那么首先一定要去修改你的pom.xml配置文件,引入以下包。
<project xmlns="http://maven.apache.org/POM/4.0.0" xmlns:xsi="http://www.w3.org/2001/XMLSchema-instance" xsi:schemaLocation="http://maven.apache.org/POM/4.0.0 http://maven.apache.org/xsd/maven-4.0.0.xsd">
<parent>
<artifactId>SpringBoot</artifactId>
<groupId>com.gwolf</groupId>
<version>1.0-SNAPSHOT</version>
</parent>
<modelVersion>4.0.0</modelVersion>
<groupId>com.gwolf</groupId>
<artifactId>springboot-base</artifactId>
<packaging>jar</packaging>
<name>springboot-base</name>
<url>http://maven.apache.org</url>
<properties>
<project.build.sourceEncoding>UTF-8</project.build.sourceEncoding> </properties>
<dependencies>
<dependency>
<groupId>org.springframework.boot</groupId>
<artifactId>spring-boot-starter-web</artifactId>
</dependency>
<dependency>
<groupId>org.springframework.boot</groupId>
<artifactId>spring-boot-starter-test</artifactId>
<scope>test</scope>
</dependency>
<dependency>
<groupId>org.springframework</groupId>
<artifactId>springloaded</artifactId>
</dependency>
<dependency>
<groupId>org.springframework.boot</groupId>
<artifactId>spring-boot-devtools</artifactId>
</dependency>
<dependency>
<groupId>org.springframework.boot</groupId>
<artifactId>spring-boot-starter-thymeleaf</artifactId>
</dependency>
<dependency>
<groupId>org.springframework.boot</groupId>
<artifactId>spring-boot-starter-aop</artifactId>
</dependency>
<dependency>
<groupId>mysql</groupId>
<artifactId>mysql-connector-java</artifactId>
<version>5.0.4</version>
</dependency>
<dependency>
<groupId>com.alibaba</groupId>
<artifactId>druid</artifactId>
<version>1.1.0</version>
</dependency>
<dependency>
<groupId>junit</groupId>
<artifactId>junit</artifactId>
<scope>test</scope>
</dependency>
</dependencies>
</project>

3、如果要进行数据源的整合处理,直接修改application.yml配置文件即可:
server:
port: 8080
spring:
messages:
basename: i18n/Message,i18n/Pages #资源文件的名称
datasource:
#配置当前要使用的数据源的操作类型
type: com.alibaba.druid.pool.DruidDataSource
driver-class-name: org.gjt.mm.mysql.Driver
url: jdbc:mysql://localhost:3306/mldn_1
username: root
password: root
dbcp2:
min-idle: 5
initial-size: 5
max-total: 5
max-wait-millis: 200

4、如果要进行junit代码测试,则一定要将mybatis开发包配置过来,因为只有在mybatis开发包里面才会将druid的配置的数据库连接池变为所需要的DataSource数据源对象:
<dependency>
<groupId>org.mybatis.spring.boot</groupId>
<artifactId>mybatis-spring-boot-starter</artifactId>
<version>1.3.1</version>
</dependency>

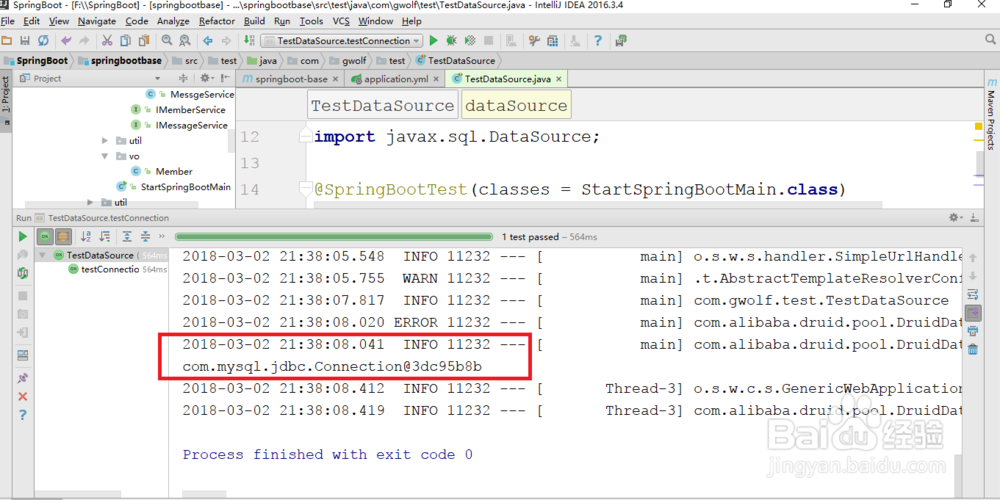
5、测试一下当前的连接池是否可用。
package com.gwolf.test;
import com.gwolf.StartSpringBootMain;
import com.gwolf.controller.MessageController;
import org.junit.Test;
import org.junit.runner.RunWith;
import org.springframework.boot.test.context.SpringBootTest;
import org.springframework.test.context.junit4.SpringJUnit4ClassRunner;import org.springframework.test.context.web.WebAppConfiguration;
import javax.annotation.Resource;
import javax.sql.DataSource;
@SpringBootTest(classes = StartSpringBootMain.class)
@RunWith(SpringJUnit4ClassRunner.class)
@WebAppConfiguration
public class TestDataSource {
@Resource
private DataSource dataSource;
@Test
public void testConnection() throws Exception{
System.out.println(this.dataSource.getConnection());
}
}

6、执行单元测试类,查看程序是否正确执行了。