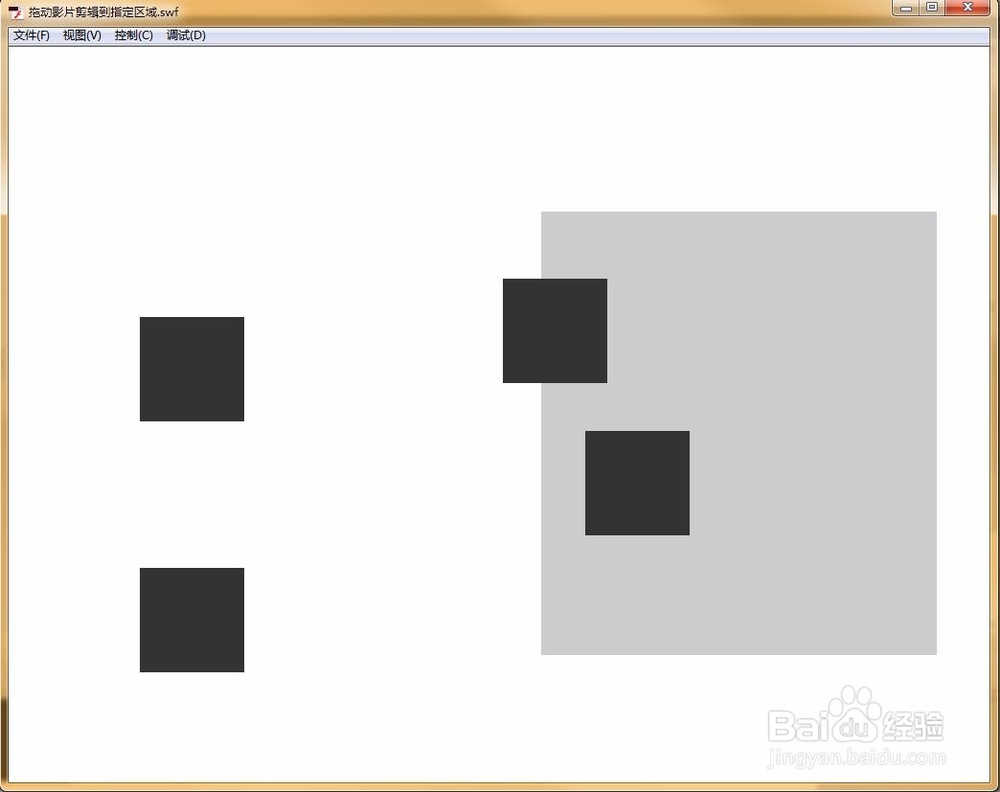
如何制作拖动影片剪辑到指定区域的效果(AS3)
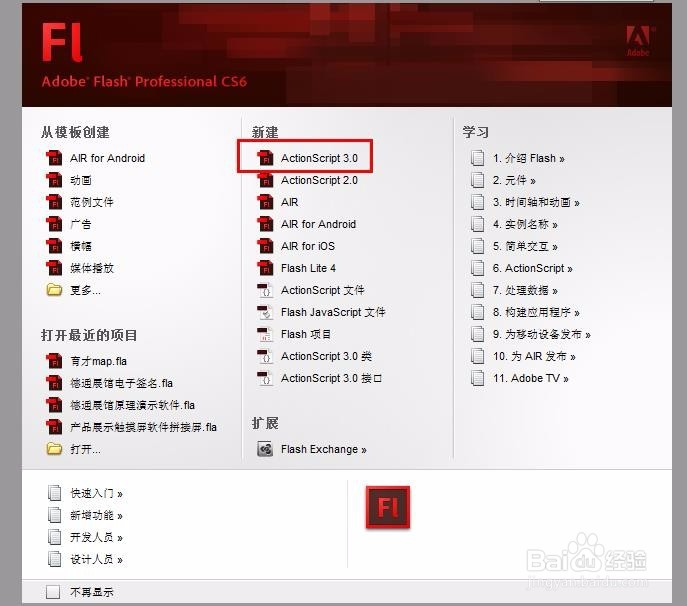
1、首先新建AS3文档。
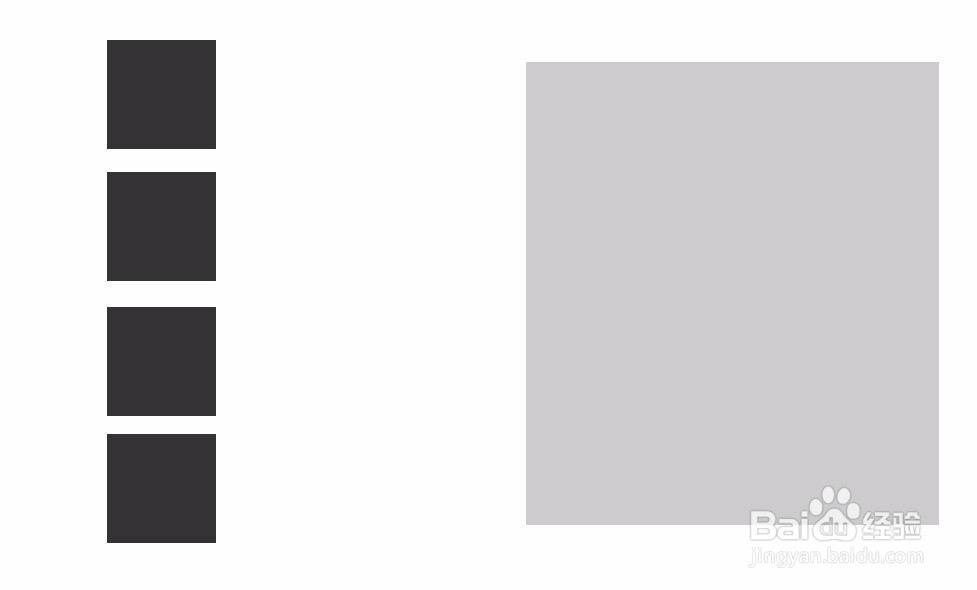
2、舞台上制作四个影片剪辑,实例名分别为mc0,mc1,mc2,mc3,注册点在中心,区域影片剪辑元件实例名为area_mc,注册点在左上角。如下图所示:
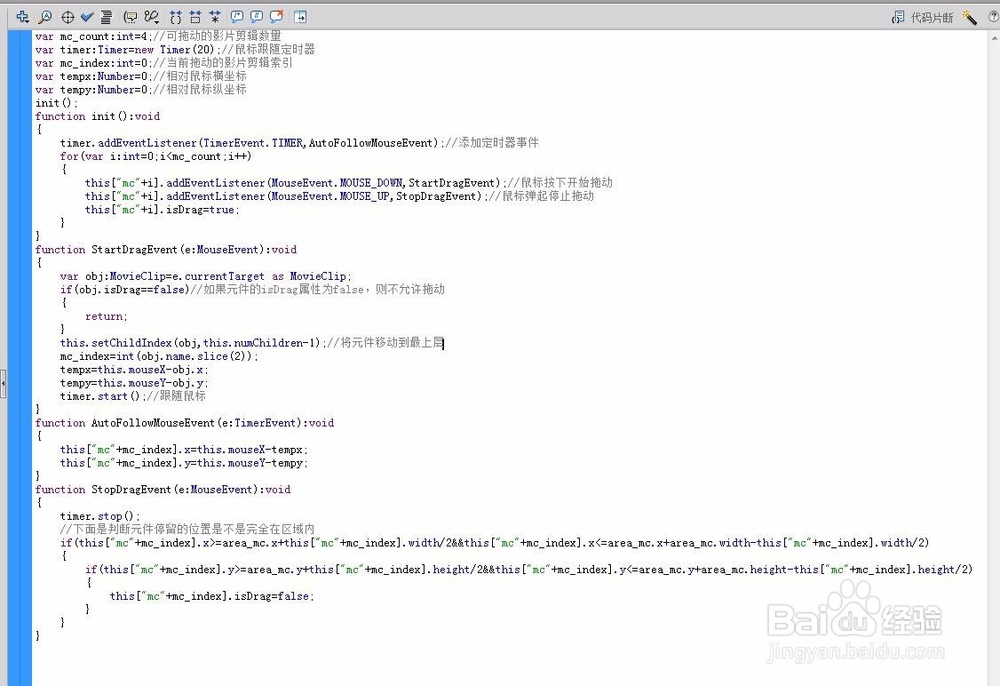
3、在主时间轴加如下代码:
var mc_count:int=4;//可拖动的影片剪辑数量
var timer:Timer=new Timer(20);//鼠标跟随定时器
var mc_index:int=0;//当前拖动的影片剪辑索引
var tempx:Number=0;//相对鼠标横坐标
var tempy:Number=0;//相对鼠标纵坐标
init();
function init():void
{
timer.addEventListener(TimerEvent.TIMER,AutoFollowMouseEvent);//添加定时器事件
for(var i:int=0;i<mc_count;i++)
{
this["mc"+i].addEventListener(MouseEvent.MOUSE_DOWN,StartDragEvent);//鼠标按下开始拖动
this["mc"+i].addEventListener(MouseEvent.MOUSE_UP,StopDragEvent);//鼠标弹起停止拖动
this["mc"+i].isDrag=true;
}
}
function StartDragEvent(e:MouseEvent):void
{
var obj:MovieClip=e.currentTarget as MovieClip;
if(obj.isDrag==false)//如果元件的isDrag属性为false,则不允许拖动
{
return;
}
this.setChildIndex(obj,this.numChildren-1);//将元件移动到最上层
mc_index=int(obj.name.slice(2));
tempx=this.mouseX-obj.x;
tempy=this.mouseY-obj.y;
timer.start();//跟随鼠标
}
function AutoFollowMouseEvent(e:TimerEvent):void
{
this["mc"+mc_index].x=this.mouseX-tempx;
this["mc"+mc_index].y=this.mouseY-tempy;
}
function StopDragEvent(e:MouseEvent):void
{
timer.stop();
//下面是判断元件停留的位置是不是完全在区域内
if(this["mc"+mc_index].x>=area_mc.x+this["mc"+mc_index].width/2&&this["mc"+mc_index].x<=area_mc.x+area_mc.width-this["mc"+mc_index].width/2)
{
if(this["mc"+mc_index].y>=area_mc.y+this["mc"+mc_index].height/2&&this["mc"+mc_index].y<=area_mc.y+area_mc.height-this["mc"+mc_index].height/2)
{
this["mc"+mc_index].isDrag=false;
}
}
}
4、Ctrl+enter预览效果。