python环境使用YCbCr掩码方式实现肤色检测
1、利用YCbCr色度空间的特点,使用CbCr两种色度进行控制得到一个掩码矩阵,然后让源图和Mask进行与运算,从而得到我们想要的效果。
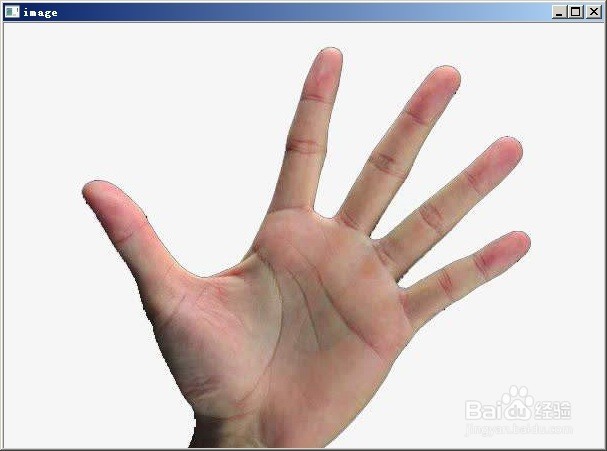
还是来一张源图
以及头文件
import cv2 as cv
import numpy as np
image = cv.imread('c:\\handtest.jpg', cv.IMREAD_COLOR)
cv.imshow("image", image)
2、# 把图像转换到YCBCR
YCrCb = cv.cvtColor(image, cv.COLOR_BGR2YCrCb)
cv.imshow("YCrCb", YCrCb)

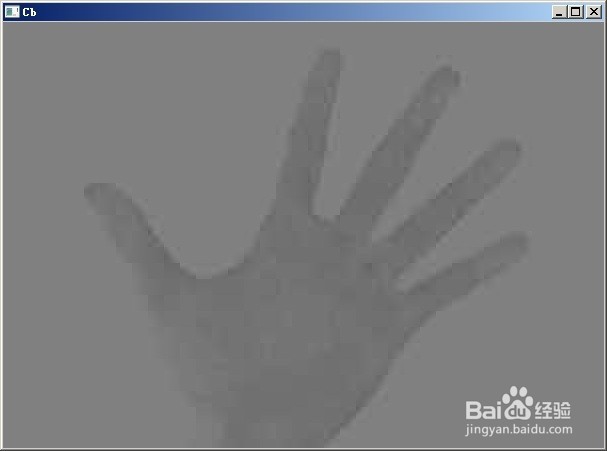
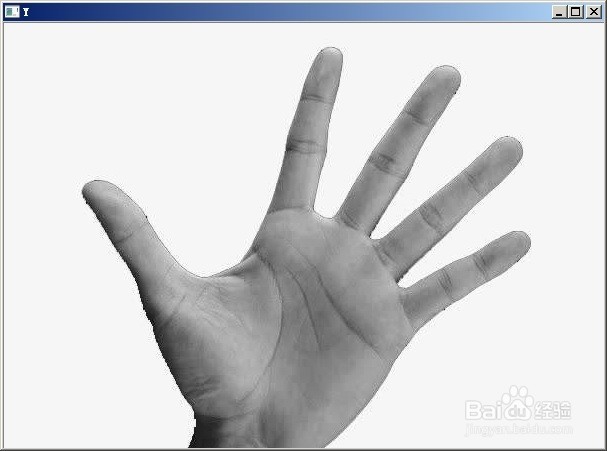
3、(Y, Cr, Cb) = cv.split(YCrCb)
cv.imshow("Y", Y)
cv.imshow("Cr", Cr)
cv.imshow("Cb", Cb)

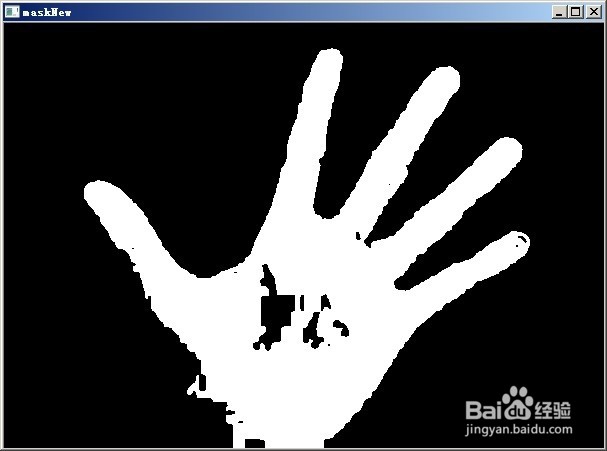
4、# 高斯滤波Cr Cb分别进行GaussianBlurCr = cv.GaussianBlur(Cr, (5, 5), 0) GaussianBlurCb = cv.GaussianBlur(Cb, (5, 5), 0)maskNew = np.zeros(Cr.shape,dtype= np.uint8)构造Mask(x,y)= Cr.shapeprint(x,y)
得到:
x = 425
y = 600


5、for i in range(0,x): for j in range(0,y): if (GaussianBlurCr[i][j]>140) and (GaussianBlurCr[i][j]<175) and (GaussianBlurCb[i][j]>80) and (GaussianBlurCb[i][j]<140): maskNew[i][j]= 255 else: maskNew[i][j] = 0
选择Cr 140-175 为255
Cb 80-140 为0
这是肤色经验值。 变成二值图 Mask
6、bitwise_andImage = cv.bitwise_and(image, image, mask=maskNew)
原图和二值掩码与运算!
cv.imshow("bitwise_andImage", bitwise_andImage )
cv.waitKey(0)
cv.destroyAllWindows()
其结果和阈值法差不多
