springboot使用PageHelper分页插件和验证码功能
1、双击打开pom文件

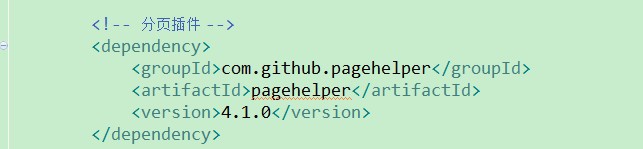
2、在pom文件中添加分页依赖,依赖如下:
<!-- 分页插件 -->
<dependency>
<groupId>com.github.pagehelper</groupId>
<artifactId>pagehelper</artifactId>
<version>4.1.0</version>
</dependency>
3、编写分页bean类,注意:这个类一定要放在springboot启动类所在位置的平级或子级的包中,保证能springboot扫描到。
import java.util.Properties;
import org.apache.ibatis.plugin.Interceptor;
import org.mybatis.spring.SqlSessionFactoryBean;
import org.springframework.context.annotation.Bean;
import org.springframework.context.annotation.Configuration;
import com.github.pagehelper.PageHelper;
@Configuration
public class PageHelperBean {
@Bean
PageHelper pageHelper(){
//分页插件
PageHelper pageHelper = new PageHelper();
Properties properties = new Properties();
properties.setProperty("reasonable", "true");
properties.setProperty("supportMethodsArguments", "true");
properties.setProperty("returnPageInfo", "check");
properties.setProperty("params", "count=countSql");
pageHelper.setProperties(properties);
//添加插件
new SqlSessionFactoryBean().setPlugins(new Interceptor[]{pageHelper});
return pageHelper;
}
}

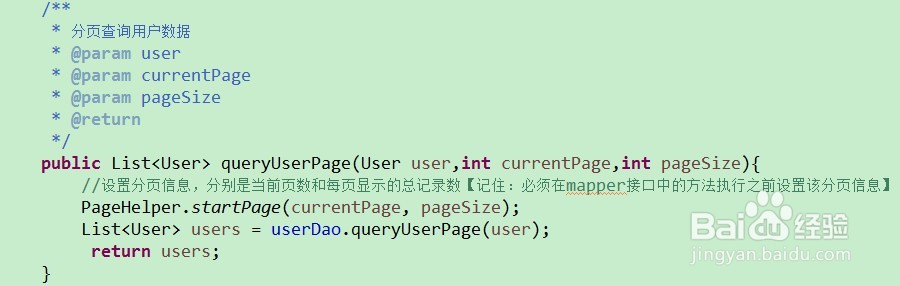
4、在service层调用分页
5、在controller层调用分页
在这要调用两个service,一个是上一步骤的分页查询,还有就是要通过service连接dao层连接数据库,count出总条数。
最后return PageBean<实体类> 就可以了,通过@ResponseBody可以直接把数据转换成json格式的字符串,被前台解析识别,显示在页面


1、打开pom文件,添加如下的依赖:
<!-- https://mvnrepository.com/artifact/com.github.penggle/kaptcha -->
<dependency>
<groupId>com.github.penggle</groupId>
<artifactId>kaptcha</artifactId>
<version>2.3.2</version>
</dependency>
2、在resources中创建一个mykaptcha.xml文件

3、mykaptcha.xml文件中添加如下的内容:
<?xml version="1.0" encoding="UTF-8"?>
<beans xmlns="http://www.springframework.org/schema/beans"
xmlns:xsi="http://www.w3.org/2001/XMLSchema-instance"
xsi:schemaLocation="http://www.springframework.org/schema/beans http://www.springframework.org/schema/beans/spring-beans.xsd">
<bean id="captchaProducer" class="com.google.code.kaptcha.impl.DefaultKaptcha">
<property name="config">
<bean class="com.google.code.kaptcha.util.Config">
<constructor-arg type="java.util.Properties">
<props>
<prop key = "kaptcha.border ">yes</prop>
<prop key="kaptcha.border.color">105,179,90</prop>
<prop key="kaptcha.textproducer.font.color">blue</prop>
<prop key="kaptcha.image.width">120</prop>
<prop key="kaptcha.image.height">60</prop>
<prop key="kaptcha.textproducer.font.size">40</prop>
<prop key="kaptcha.session.key">code</prop>
<prop key="kaptcha.textproducer.char.length">4</prop>
<prop key="kaptcha.textproducer.font.names">宋体,楷体,微软雅黑</prop>
<prop key="kaptcha.textproducer.char.string">0123456789ABCEFGHIJKLMNOPQRSTUVWXYZ</prop>
<prop key="kaptcha.obscurificator.impl">com.google.code.kaptcha.impl.WaterRipple</prop>
<prop key="kaptcha.noise.color">black</prop>
<prop key="kaptcha.noise.impl">com.google.code.kaptcha.impl.DefaultNoise</prop>
<prop key="kaptcha.background.clear.from">185,56,213</prop>
<prop key="kaptcha.background.clear.to">white</prop>
<prop key="kaptcha.textproducer.char.space">3</prop>
</props>
</constructor-arg>
</bean>
</property>
</bean>
</beans>
4、在springboot启动类上加一个注解:
@ImportResource(locations={"classpath:mykaptcha.xml"})
5、controller中使用:
@Autowired
private DefaultKaptcha defaultKaptcha;
/**
* 生成验证码
* @param httpServletRequest
* @param httpServletResponse
* @throws Exception
*/
@RequestMapping("/defaultKaptcha")
public void defaultKaptcha(HttpServletRequest httpServletRequest,HttpServletResponse httpServletResponse) throws Exception{
byte[] captchaChallengeAsJpeg = null;
ByteArrayOutputStream jpegOutputStream = new ByteArrayOutputStream();
try {
//生产验证码字符串并保存到session中
String createText = defaultKaptcha.createText();
httpServletRequest.getSession().setAttribute("vrifyCode", createText);
//使用生产的验证码字符串返回一个BufferedImage对象并转为byte写入到byte数组中
BufferedImage challenge = defaultKaptcha.createImage(createText);
ImageIO.write(challenge, "jpg", jpegOutputStream);
} catch (IllegalArgumentException e) {
httpServletResponse.sendError(HttpServletResponse.SC_NOT_FOUND);
return;
}
//定义response输出类型为image/jpeg类型,使用response输出流输出图片的byte数组
captchaChallengeAsJpeg = jpegOutputStream.toByteArray();
httpServletResponse.setHeader("Cache-Control", "no-store");
httpServletResponse.setHeader("Pragma", "no-cache");
httpServletResponse.setDateHeader("Expires", 0);
httpServletResponse.setContentType("image/jpeg");
ServletOutputStream responseOutputStream =
httpServletResponse.getOutputStream();
responseOutputStream.write(captchaChallengeAsJpeg);
responseOutputStream.flush();
responseOutputStream.close();
}
6、HTML页面使用:

7、验证码验证是否正确:
表单提交到后台,与后台存到session中的验证码信息做比较
