【源码】Unity3D立方体使用代码自动UV映射
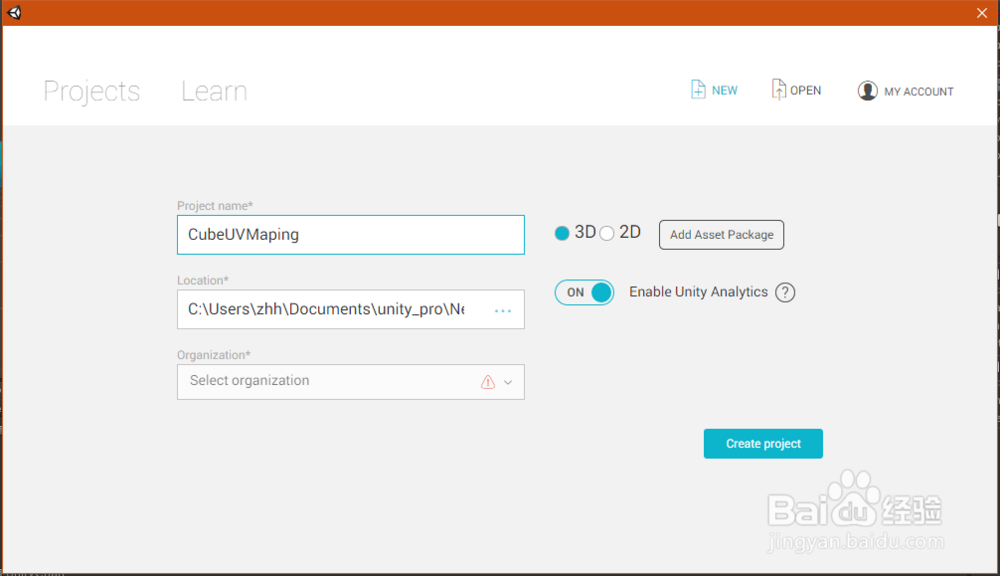
1、1. 打开软件,新建工程如下图所示
2、2. 创建脚本文件如下图所示同时在【hierarchy】下面空白处鼠标右键创建空对象,并将脚本拖拽到该空对象下,如下图所示


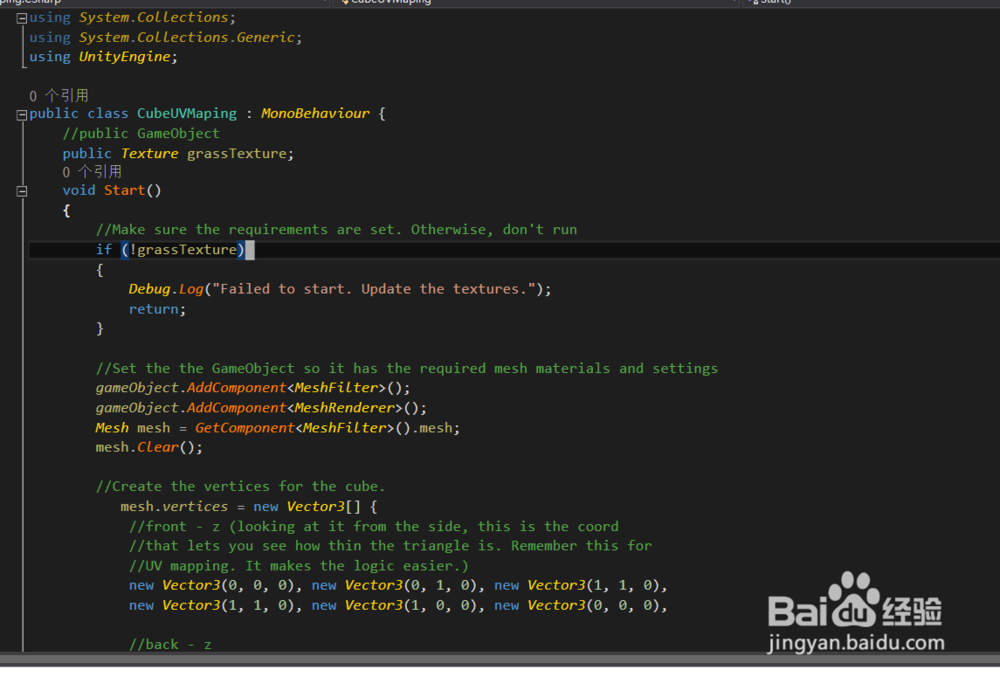
3、3. 双击脚本用VS打开,如下图所示,输入如下代码
using System.Collections;
using System.Collections.Generic;
using UnityEngine;
public class CubeUVMaping : MonoBehaviour {
//public GameObject
public Texture grassTexture;
void Start()
{
//Make sure the requirements are set. Otherwise, don't run
if (!grassTexture)
{
Debug.Log("Failed to start. Update the textures.");
return;
}
//Set the the GameObject so it has the required mesh materials and settings
gameObject.AddComponent<MeshFilter>();
gameObject.AddComponent<MeshRenderer>();
Mesh mesh = GetComponent<MeshFilter>().mesh;
mesh.Clear();
//Create the vertices for the cube.
mesh.vertices = new Vector3[] {
//front - z (looking at it from the side, this is the coord
//that lets you see how thin the triangle is. Remember this for
//UV mapping. It makes the logic easier.)
new Vector3(0, 0, 0), new Vector3(0, 1, 0), new Vector3(1, 1, 0),
new Vector3(1, 1, 0), new Vector3(1, 0, 0), new Vector3(0, 0, 0),
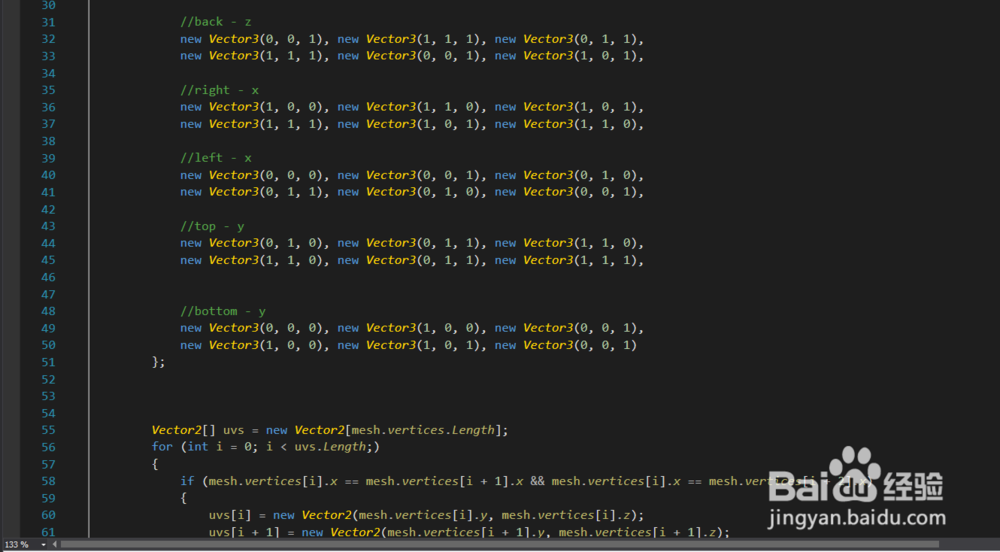
//back - z
new Vector3(0, 0, 1), new Vector3(1, 1, 1), new Vector3(0, 1, 1),
new Vector3(1, 1, 1), new Vector3(0, 0, 1), new Vector3(1, 0, 1),
//right - x
new Vector3(1, 0, 0), new Vector3(1, 1, 0), new Vector3(1, 0, 1),
new Vector3(1, 1, 1), new Vector3(1, 0, 1), new Vector3(1, 1, 0),
//left - x
new Vector3(0, 0, 0), new Vector3(0, 0, 1), new Vector3(0, 1, 0),
new Vector3(0, 1, 1), new Vector3(0, 1, 0), new Vector3(0, 0, 1),
//top - y
new Vector3(0, 1, 0), new Vector3(0, 1, 1), new Vector3(1, 1, 0),
new Vector3(1, 1, 0), new Vector3(0, 1, 1), new Vector3(1, 1, 1),
//bottom - y
new Vector3(0, 0, 0), new Vector3(1, 0, 0), new Vector3(0, 0, 1),
new Vector3(1, 0, 0), new Vector3(1, 0, 1), new Vector3(0, 0, 1)
};
Vector2[] uvs = new Vector2[mesh.vertices.Length];
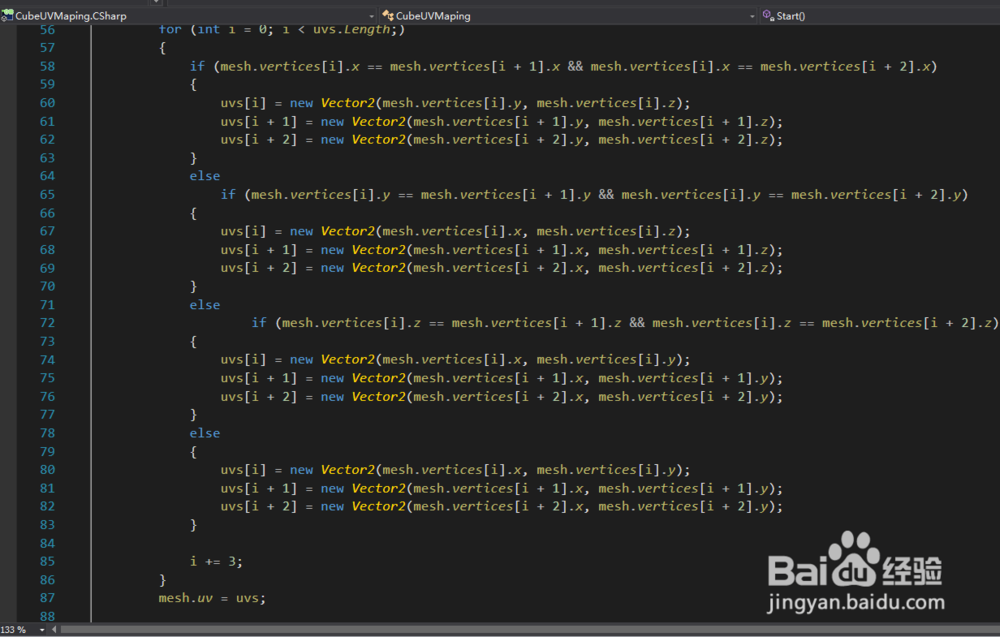
for (int i = 0; i < uvs.Length;)
{
if (mesh.vertices[i].x == mesh.vertices[i + 1].x && mesh.vertices[i].x == mesh.vertices[i + 2].x)
{
uvs[i] = new Vector2(mesh.vertices[i].y, mesh.vertices[i].z);
uvs[i + 1] = new Vector2(mesh.vertices[i + 1].y, mesh.vertices[i + 1].z);
uvs[i + 2] = new Vector2(mesh.vertices[i + 2].y, mesh.vertices[i + 2].z);
}
else
if (mesh.vertices[i].y == mesh.vertices[i + 1].y && mesh.vertices[i].y == mesh.vertices[i + 2].y)
{
uvs[i] = new Vector2(mesh.vertices[i].x, mesh.vertices[i].z);
uvs[i + 1] = new Vector2(mesh.vertices[i + 1].x, mesh.vertices[i + 1].z);
uvs[i + 2] = new Vector2(mesh.vertices[i + 2].x, mesh.vertices[i + 2].z);
}
else
if (mesh.vertices[i].z == mesh.vertices[i + 1].z && mesh.vertices[i].z == mesh.vertices[i + 2].z)
{
uvs[i] = new Vector2(mesh.vertices[i].x, mesh.vertices[i].y);
uvs[i + 1] = new Vector2(mesh.vertices[i + 1].x, mesh.vertices[i + 1].y);
uvs[i + 2] = new Vector2(mesh.vertices[i + 2].x, mesh.vertices[i + 2].y);
}
else
{
uvs[i] = new Vector2(mesh.vertices[i].x, mesh.vertices[i].y);
uvs[i + 1] = new Vector2(mesh.vertices[i + 1].x, mesh.vertices[i + 1].y);
uvs[i + 2] = new Vector2(mesh.vertices[i + 2].x, mesh.vertices[i + 2].y);
}
i += 3;
}
mesh.uv = uvs;
//Add the triangles to render the cube
int[] triangleNumbers = new int[mesh.vertices.Length];
for (int i = 0; i < mesh.vertices.Length; i++)
triangleNumbers[i] = i;
mesh.triangles = triangleNumbers;
//Set the cube's texture and add a collider
GetComponent<MeshRenderer>().material.mainTexture = grassTexture;
gameObject.AddComponent<MeshCollider>();
gameObject.transform.localScale = (new Vector3(3, 3, 3));
}
}


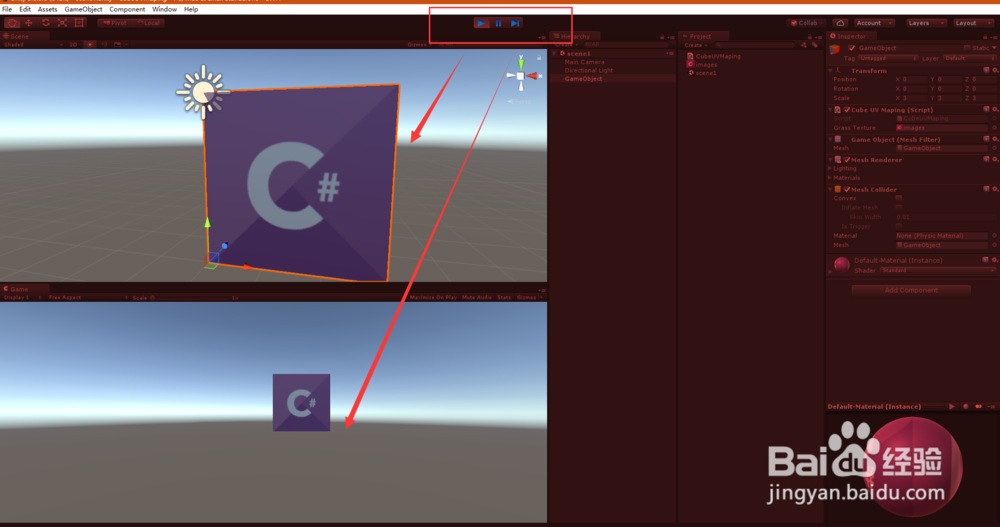
4、4. 选择一张图片拖拽到【Project】面板下,并拖拽到【GameObject】的脚本中,如下图所示

5、5. 点击运行按钮,运行结果如下图所示。如何设置运行时界面的主题,请参见我的经验:
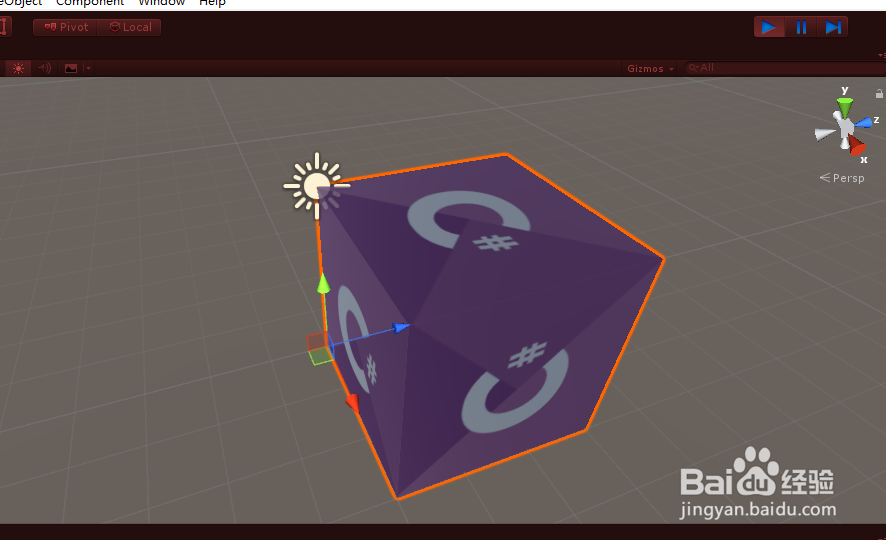
6、6. 立方体多个角度的效果,如下图所示

7、如果您觉得有用,记得在下方点击投票、点赞、关注、留言,小编会定期奉上更多的惊喜哦,您的支持才是小编继续努力的动力,么么哒。
