Unity GL之使用GL简单绘制线段和平面
1、打开Unity,新建一个空工程,具体如下图
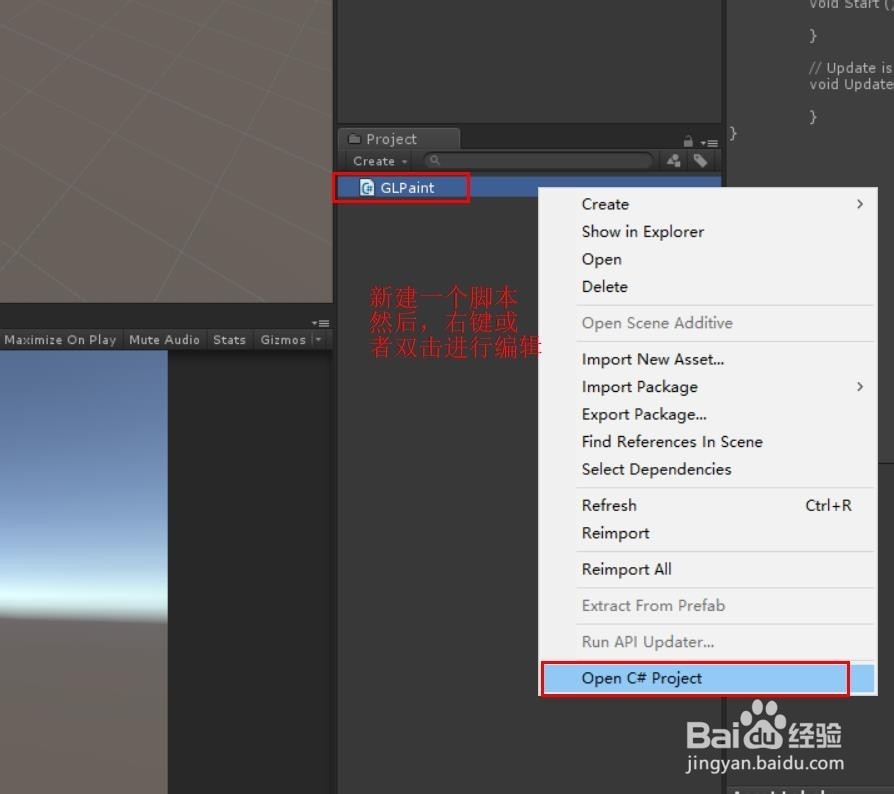
2、在工程中,添加一个脚本,然后右键或者双击编辑脚本,具体如下图
3、脚本内容如下:1、首仗佛先new一个添加点用来绘制;2、一个贪盲创建材质的函数,创建绘制需要的材质;3、在 OnRenderObject() 函数绘制线段和平面;4、分别创建画线和绘制平面的函数接口,具体如下图


4、脚本具体内容:
using System.Collections.Generic;
using UnityEngine;
public class GLPaint : MonoBehaviour {
List<Vector3> tmplist; // 存放点的列表
void Start() {
// 初始化存点的列表,并添加一些点
tmplist = new List<Vector3>();
tmplist.Add(new Vector3(0,0,0));
tmplist.Add(new Vector3(0,3,0));
tmplist.Add(new Vector3(3,3,0));
tmplist.Add(new Vector3(3,0,0));
}
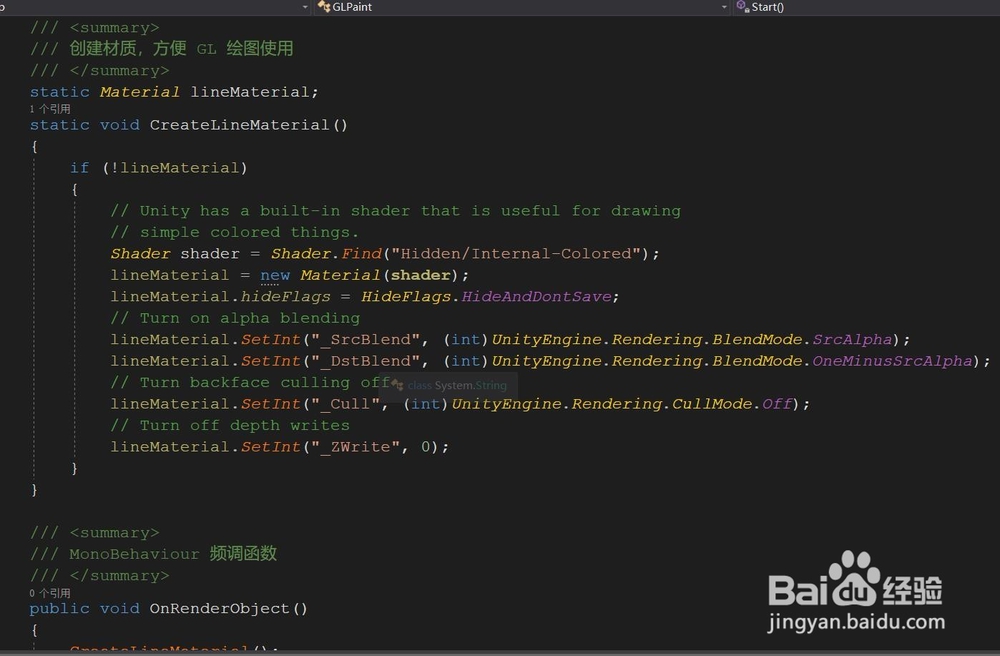
/// <summary>
/// 创建材质,方便 GL 绘图使用
/// </summary>
static Material lineMaterial;
static void CreateLineMaterial()
{
if (!lineMaterial)
{
// Unity has a built-in shader that is useful for drawing
// simple colored things.
Shader shader = Shader.Find("Hidden/Internal-Colored");
lineMaterial = new Material(shader);
lineMaterial.hideFlags = HideFlags.HideAndDontSave;
// Turn on alpha blending
lineMaterial.SetInt("_SrcBlend", (int)UnityEngine.Rendering.BlendMode.SrcAlpha);
lineMaterial.SetInt("_DstBlend", (int)UnityEngine.Rendering.BlendMode.OneMinusSrcAlpha);
// Turn backface culling off
lineMaterial.SetInt("_Cull", (int)UnityEngine.Rendering.CullMode.Off);
// Turn off depth writes
lineMaterial.SetInt("_ZWrite", 0);
}
}
/// <summary>
/// MonoBehaviour 频调函数
/// </summary>
public void OnRenderObject()
{
CreateLineMaterial();
// Apply the line material
lineMaterial.SetPass(0);
//DrawLines();
// GL 画线函数
//DrawLines(tmplist);
DrawTriangle(tmplist);
}
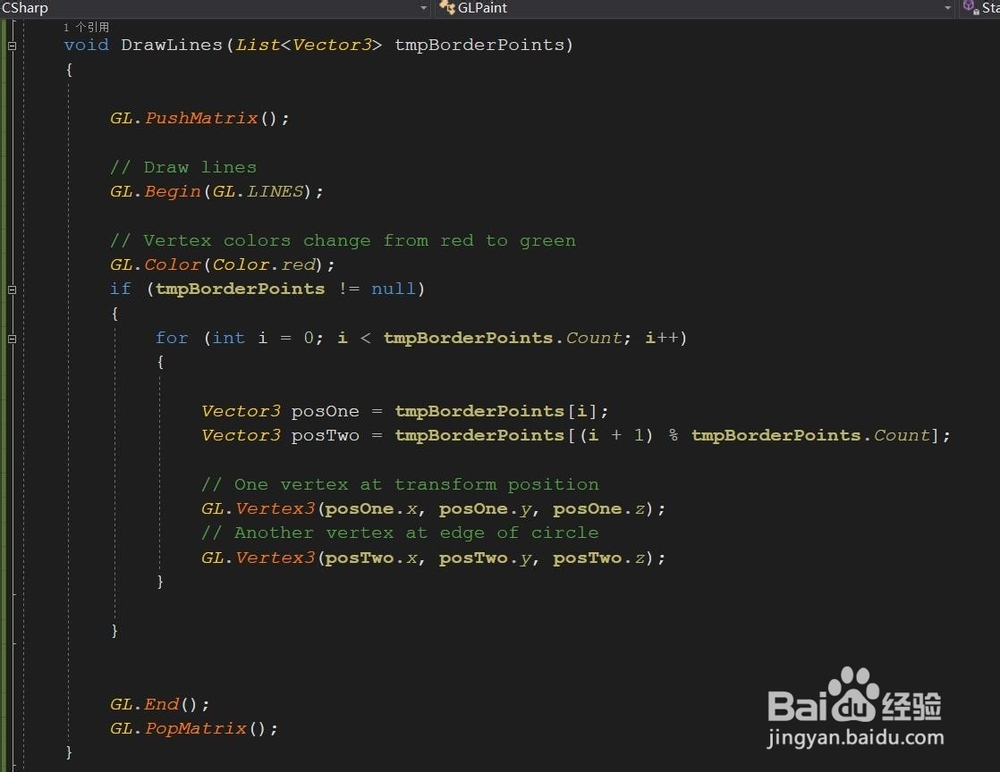
/// <summary>
/// GL画杰扯耍线函数
/// </summary>
/// <param name="tmpBorderPoints">点的列表</param>
void DrawLines(List<Vector3> tmpBorderPoints)
{
GL.PushMatrix();
// Draw lines
GL.Begin(GL.LINES);
// Vertex colors change from red to green
GL.Color(Color.red);
if (tmpBorderPoints != null)
{
for (int i = 0; i < tmpBorderPoints.Count; i++)
{
Vector3 posOne = tmpBorderPoints[i];
Vector3 posTwo = tmpBorderPoints[(i + 1) % tmpBorderPoints.Count];
// One vertex at transform position
GL.Vertex3(posOne.x, posOne.y, posOne.z);
// Another vertex at edge of circle
GL.Vertex3(posTwo.x, posTwo.y, posTwo.z);
}
}
GL.End();
GL.PopMatrix();
}
/// <summary>
/// GL 平面绘制
/// </summary>
/// <param name="tmpBorderPoints"></param>
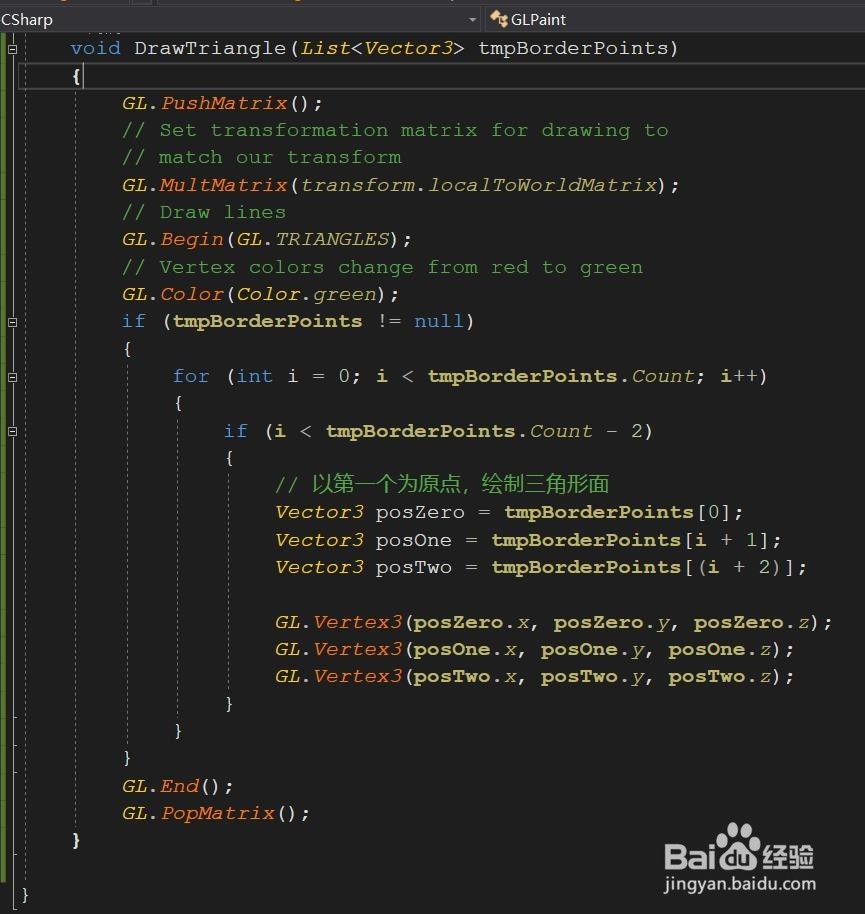
void DrawTriangle(List<Vector3> tmpBorderPoints)
{
GL.PushMatrix();
// Set transformation matrix for drawing to
// match our transform
GL.MultMatrix(transform.localToWorldMatrix);
// Draw lines
GL.Begin(GL.TRIANGLES);
// Vertex colors change from red to green
GL.Color(Color.green);
if (tmpBorderPoints != null)
{
for (int i = 0; i < tmpBorderPoints.Count; i++)
{
if (i < tmpBorderPoints.Count - 2)
{
// 以第一个为原点,绘制三角形面
Vector3 posZero = tmpBorderPoints[0];
Vector3 posOne = tmpBorderPoints[i + 1];
Vector3 posTwo = tmpBorderPoints[(i + 2)];
GL.Vertex3(posZero.x, posZero.y, posZero.z);
GL.Vertex3(posOne.x, posOne.y, posOne.z);
GL.Vertex3(posTwo.x, posTwo.y, posTwo.z);
}
}
}
GL.End();
GL.PopMatrix();
}
}
5、脚本编译正确,回到Unity,运行场景,这次绘制的线段,具体如下图

6、简单修改脚本,运行场景,这次绘制平面,具体如下图
